


 Explained")


")


The Raspberry Pi 1 was first launched in 2012. Since then, Raspberry Pi becomes a extremely valuable equipment for every DIY enthusiasts and programmers, due to its affordable price and versatility. One of the most common usage in the community is making the Pi as a home media center/hub. OSMC is a open-source OS for multiple platforms that is suitable for media consumption. This time, we will teach you how to get it installed on your Raspberry Pi.
OSMC is free and open-source, which is based on Debian Linux and Kodi Media Center Software. It can be installed on Raspberry Pi, Vero, and 1st Generation Apple TV. It has a simple user interface and is easy to setup, even for beginners. Without further ado, Let’s get started.<
Hardware you need
- Raspberry Pi
- 5V/2.1A Power Supply with a MicroUSB cable
- MicroSD card with a capacity of 8GB or more
- Micro SD card reader
- An HDMI cable
You can get a Raspberry Pi starter kit, if you do not want to purchase all the parts separately. Generally, there is no difference in the hardware that you use to install other OS, like Raspbian and Ubuntu, except for the OSMC image file.
Preparing the disk image
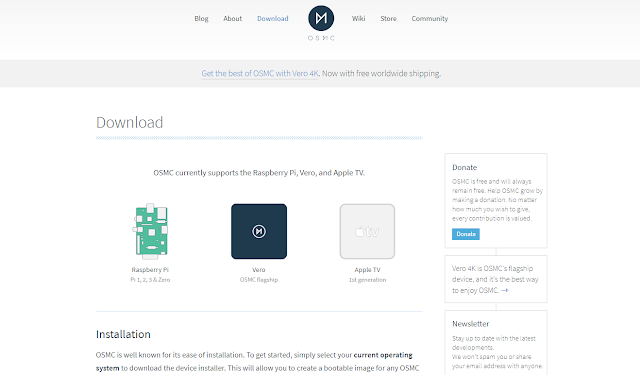
First of all, you will need to download the OSMC disk image from its website. You need to select the image for your respective device. A .gz file named similar to “OSMC_TGT_rbp2_2017XXXX.img” will be downloaded. Then, extract the file.
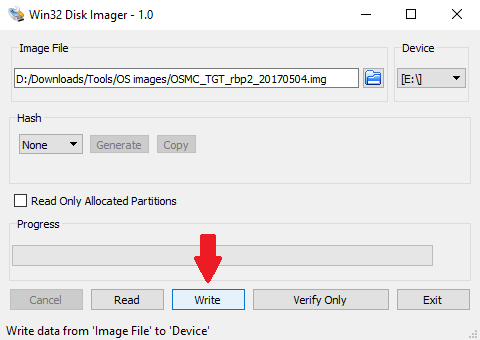
To write the bootable image to the microSD card, Win32 Disk Imager is required. Put your SD card into your card reader and plug into a computer. You have to select the extracted image file as the source and your SD card as the destination. Please make sure you choose the correct SD card, any existing data on it will be wiped. If everything is okay, press the “write” button and wait until it’s finished.
Alternatively, you can use the device installers provided by OSMC. It combines both the downloading and creating bootable image into one single installer. You can use the installer in Windows, macOS, and Linux. It does simplify the installation process, but the “disk imager” method is more versatile and can be used to install other OS.
Once the Win32 Disk Imager or the device installer complete their installation, you can put the microSD card back into the Raspberry Pi and enjoy using your own OSMC media center.
Feel free to leave comments below, if you have any opinion about this website. Share the website around if you enjoy reading it. Subscribe to our Newsletter or follow our Google+, Facebook and Twitter.
Support this website simply by shopping in Amazon. It will give us small kickbacks, if you use the above affiliate links to make any purchases, which will help us grow.