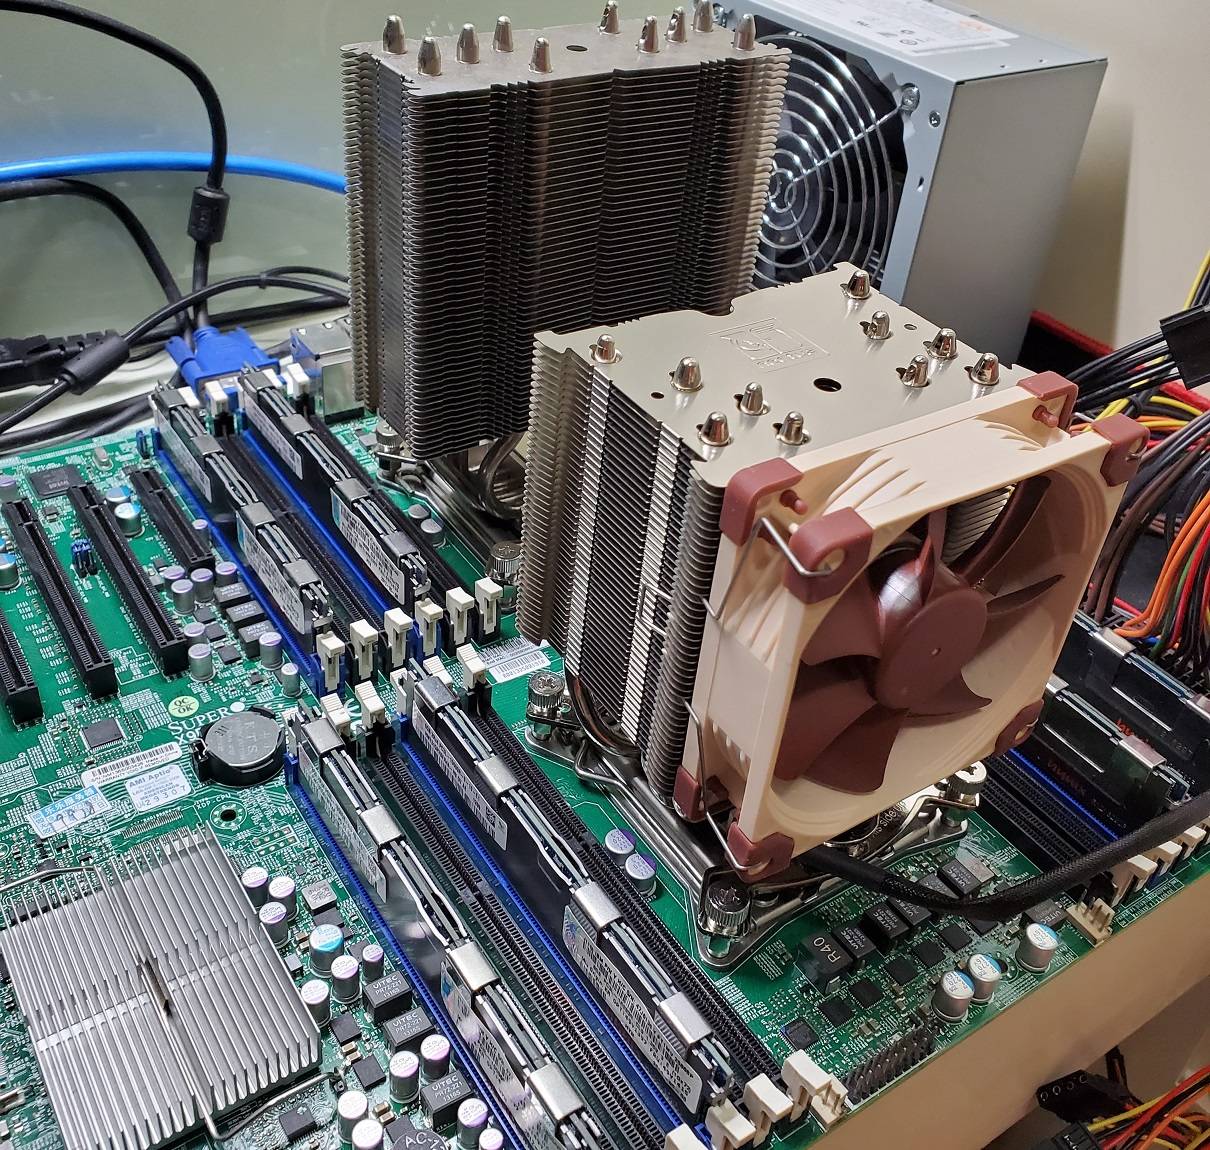
It is not always smooth sailing when you try to assemble a computer. There are different ways to mess things up, whether they are from you or the manufacturers. It is crucial to stay calm and find the exact issue. Below are five useful tips to help you troubleshoot faster.
Re-install the components
It is actually pretty common for some of the parts not detected by the system, mostly due to improper mounting pressure and dust accumulation. If the computer does not boot up at all, listen to the BIOS beep patterns or look for the debug LEDs/codes on the motherboard. This will help you locate the problem.
Reseating each RAM modules and the graphics card, until you hear a noticeable click from the slot, can ensure they are installed correctly. If the motherboard and components are not brand new, it could be a good idea to clean the dust off the connectors and slots carefully.
Isolate the problems
It is almost impossible for all components in the computer to be defected at the same time. It is recommended to only install the necessary/essential hardware on the motherboard, including CPU, GPU and RAM. If your processor features an internal GPU, you can remove the dedicated graphics card. You should also remove all the cable connections from your peripherals. If the system can be booted up properly, add another new component. This step-by-step process can help isolate and locate the specific issue.
Check your cables’ connections
Cables are the most ignored aspect of a PC build. Most of the time, the cable will work as long as the connector and port have the identical shape. However, some cables require more attention than usual, which can be the culprit of no/unstable display signals. For example, there may be a locking mechanism for the cable, that it has to be fully plugged in to function normally. For HDMI and DisplayPort, the cables are rated to work with specific display versions and their corresponding bandwidth limit. A lower quality or bent/damaged cable can affect the signal integrity and cause problems.
Clear the CMOS
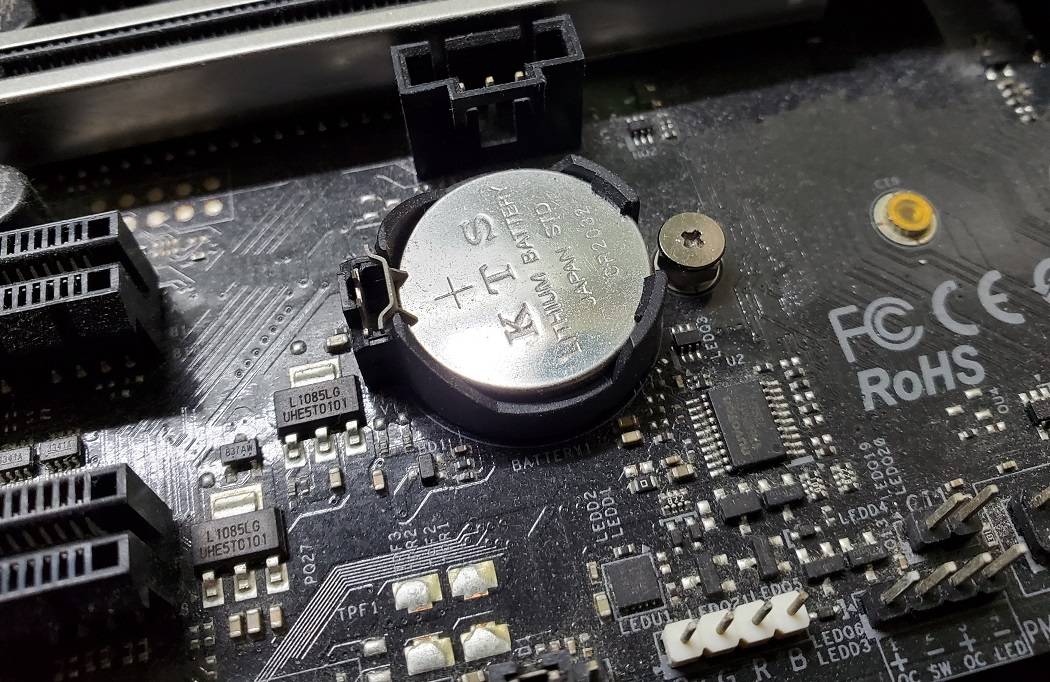
Sometimes, old BIOS settings can cause compatibility issue with newly-installed components. Resetting the BIOS to default can be useful. There are two ways to clear the CMOS, which may be slightly different for each motherboard manufacturers.
Method 1
- Power off the computer.
- Find the Clear CMOS jumper on the motherboard. Consult the user manual, if you are not sure where it is located.
- Move/short the jumper to the designated position.
- Wait 1 to 5 minutes and move the jumper back the the default position.
Method 2
- Power off the computer.
- Disconnect the AC power cord.
- Remove the circular CMOS battery on the motherboard.
- Wait 1 to 5 minutes and reinstall the battery.
Power cycle the computer
When you have just swapped some of the components in the system, especially RAM, the BIOS will need additional time to initialize and test new settings. In rare occasions, the BIOS is stuck on previous configuration and cannot detect the new parts. Therefore, you can force the BIOS to retrain or reset the components by power cycling the computer.
- Power off the computer.
- Switch off the power supply, but do not disconnect the AC power cord.
- Press and hold the power button for at least 10 seconds.
We hope this few tips can help you troubleshoot your computer quickly and more efficiently.
Feel free to leave comments below, if you have any opinion about this website. Share the website around if you enjoy reading it. Subscribe to our Newsletter or follow our Twitter, Facebook and Instagram.
Support this website simply by shopping in Amazon and Newegg. It will give us small kickbacks, if you use the above affiliate links to make any purchases, which will help us grow.
















The explanation of power cycling the computer is clear and informative, providing useful steps for troubleshooting when dealing with new components like RAM. It’s a great way to address a common issue that many users may face when upgrading or replacing hardware. The call to action at the end, encouraging readers to engage with the site and support it through affiliate links, is a nice touch. One minor improvement could be to clarify **”press and hold the power button for at least 10 seconds”**—it might be helpful to mention that this ensures all residual power is drained from the system. Overall, it’s a practical, well-rounded guide with a friendly tone!