After delaying about four months, Bethesda is now releasing DOOM Eternal on March 20th, which will be available on PC, PS4 and Xbox. The detailed PC requirements of running this first-person shooter game has been revealed by the developer.
Bethesda provided three sets of specifications for reference. To play DOOM Eternal in 1080p at 60 FPS with low graphics settings, you will need either an Intel Core i5 @ 3.3 GHz or AMD Ryzen @ 3.1 GHz for the processor. Older NVIDIA GeForce GTX 10-series or AMD Radeon R9-series graphics cards with 3 GB to 4 GB of VRAM should be fine.
Taking the resolution to 1440p at 60 FPS with high quality settings will demand a beefier Intel Core i7-6700K or AMD Ryzen 7 1800X CPU. NVIDIA GeForce GTX 1080/RTX 2060/AMD Radeon Vega 56 will be necessary.
You can also push your hardware to the maximum by running the game at 2160p/60 FPS or 1440p/120 FPS with the “Ultra-Nightmare” settings. It will need to have an Intel Core i9-9900K or AMD Ryzen 7 3700X for CPU, as well as NVIDIA GeForce RTX 2080 Ti or AMD Radeon VII for GPU.
All configurations should have at least 8 GB of RAM and 50 GB of storage space, except for the Ultra-Nightmare specs (16 GB of RAM is a must).
Ultra-Nightmare Specifications (2160p/60 FPS/Ultra-Nightmare) or (1440p/120 FPS/Ultra-Nightmare)
OS: 64-bit Windows 10
CPU: Intel Core i9-9900K/AMD Ryzen 7 3700X
Memory: 16 GB of RAM
GPU: NVIDIA GeForce RTX 2080 Ti (11 GB) or AMD Radeon VII (16 GB)
Feel free to leave comments below, if you have any opinion about this website. Share the website around if you enjoy reading it. Subscribe to our Newsletter or follow our Twitter, Facebook and Instagram.
Support this website simply by shopping in Amazon and Newegg. It will give us small kickbacks, if you use the above affiliate links to make any purchases, which will help us grow.
The Alloy Elite RGB is the premium mechanical keyboard from HyperX. It features per-key RGB backlighting, LED light bar and genuine Cherry MX switches. The keyboard is aimed to compete with other high-end offerings in the market. Let’s see how good it is.
Unboxing
The Alloy Elite RGB comes in a long cardboard box, with a black and red color scheme. A large photo of the keyboard can be seen at the front and a few more at the back, as well as a brief description in nine different languages. You will instantly know our review sample is equipped with Cherry MX Red switches from the sticker.
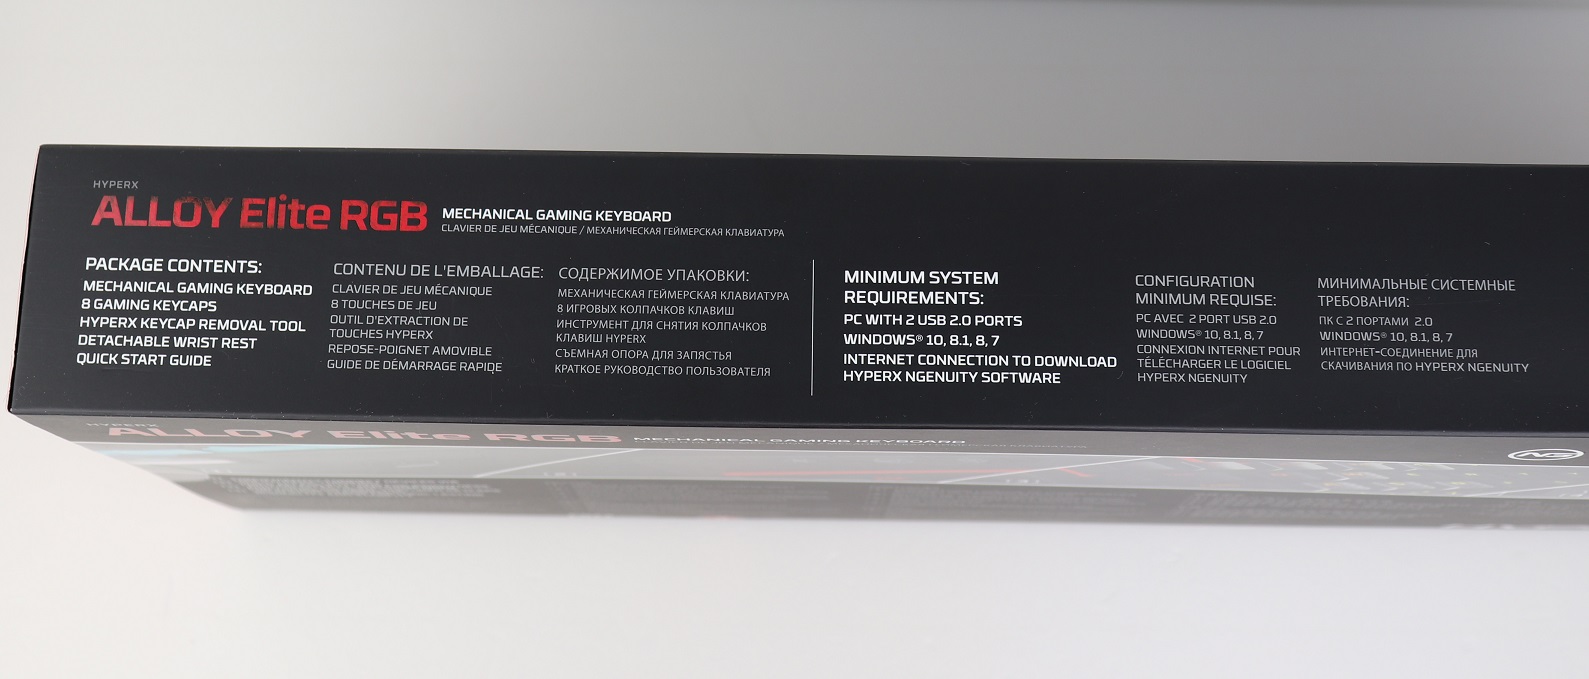
The side of the packaging has a list of the included accessories. To fully utilize the Alloy Elite RGB, it is required to have Microsoft Windows 10, 8.1 or 7 installed on the computer.
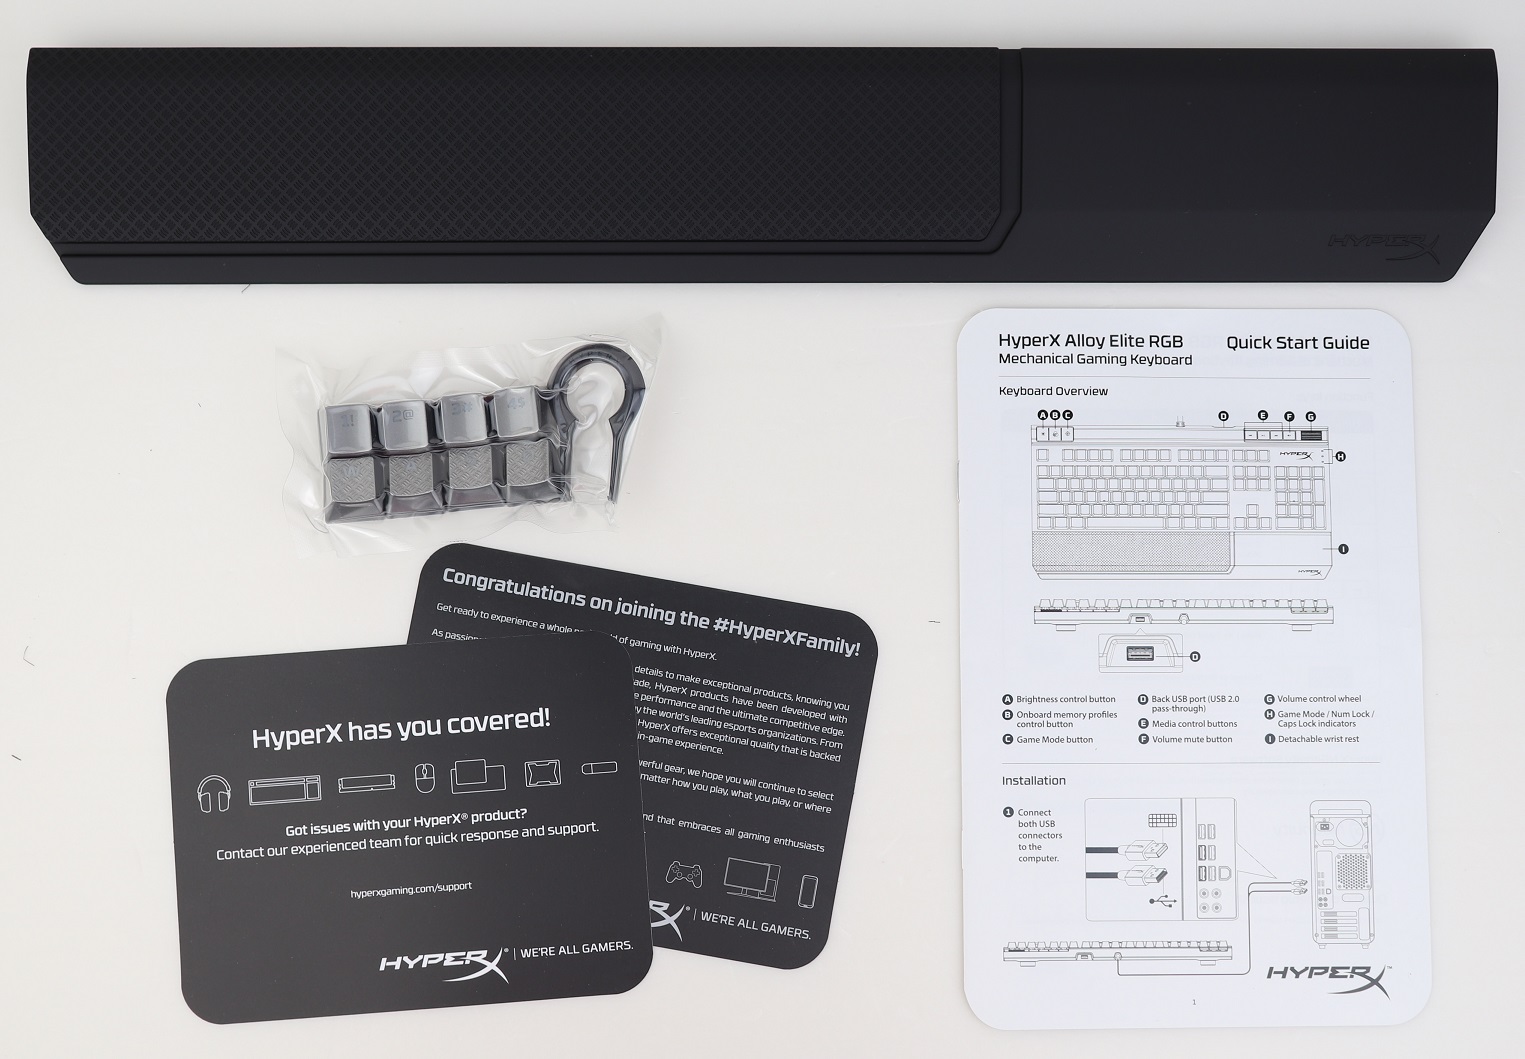
Apart from the usual Thank You and support cards, there are a quick start guide, wrist rest and additional eight keycaps with a keycap removal tool.
HyperX Alloy Elite RGB Mechanical Keyboard
The Alloy Elite RGB is a full-sized 104-key keyboard, with dedicated LED/profile/media controls. It has a dimension of 44.4 cm x 22.68 cm x 3.74 cm (W x D x H) and weight of 1467 grams. There are a full row of function keys and a number pad.
The sticker at the back contains the regulatory labels, model name, model number and serial number of the keyboard.
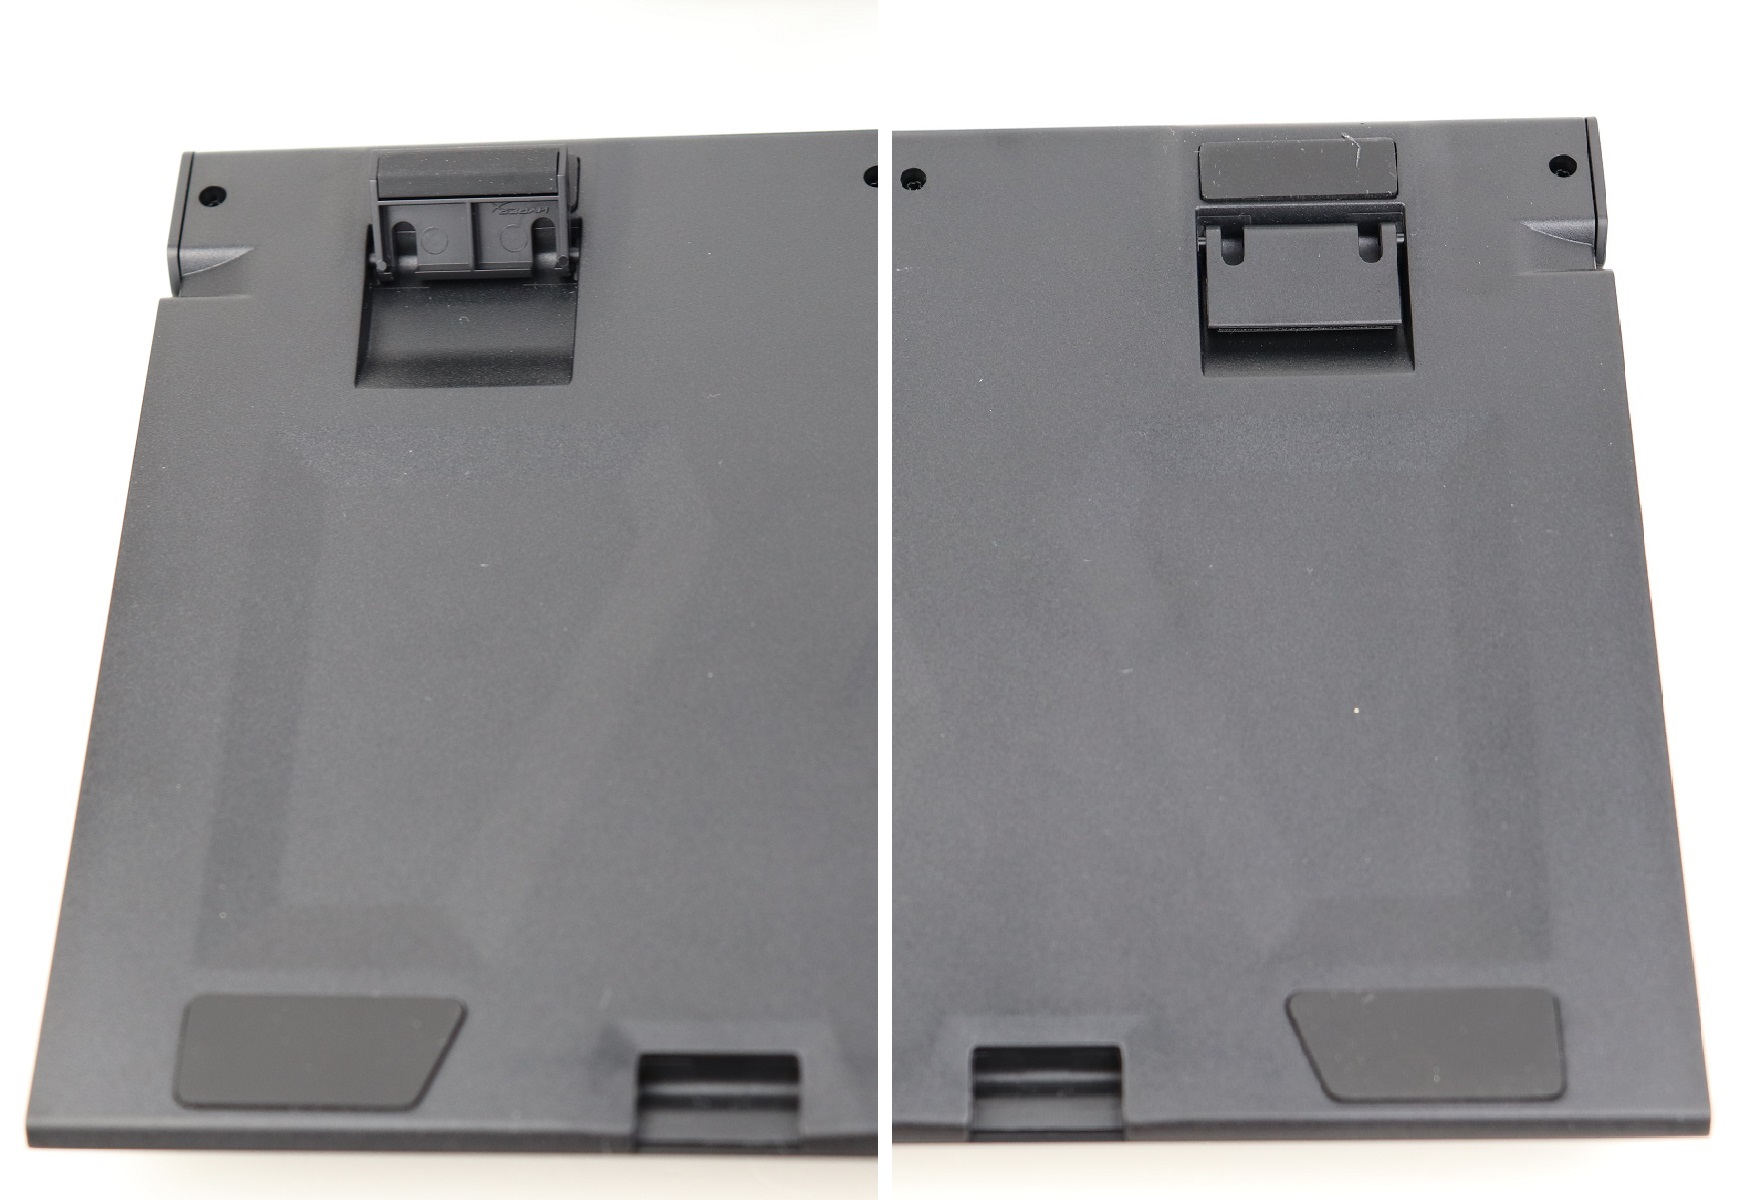
Each corner, plus the bottom of the flip-out feet, have anti-slip rubber pads. The feet can be extended to lift the keyboard for a more comfortable typing experience.
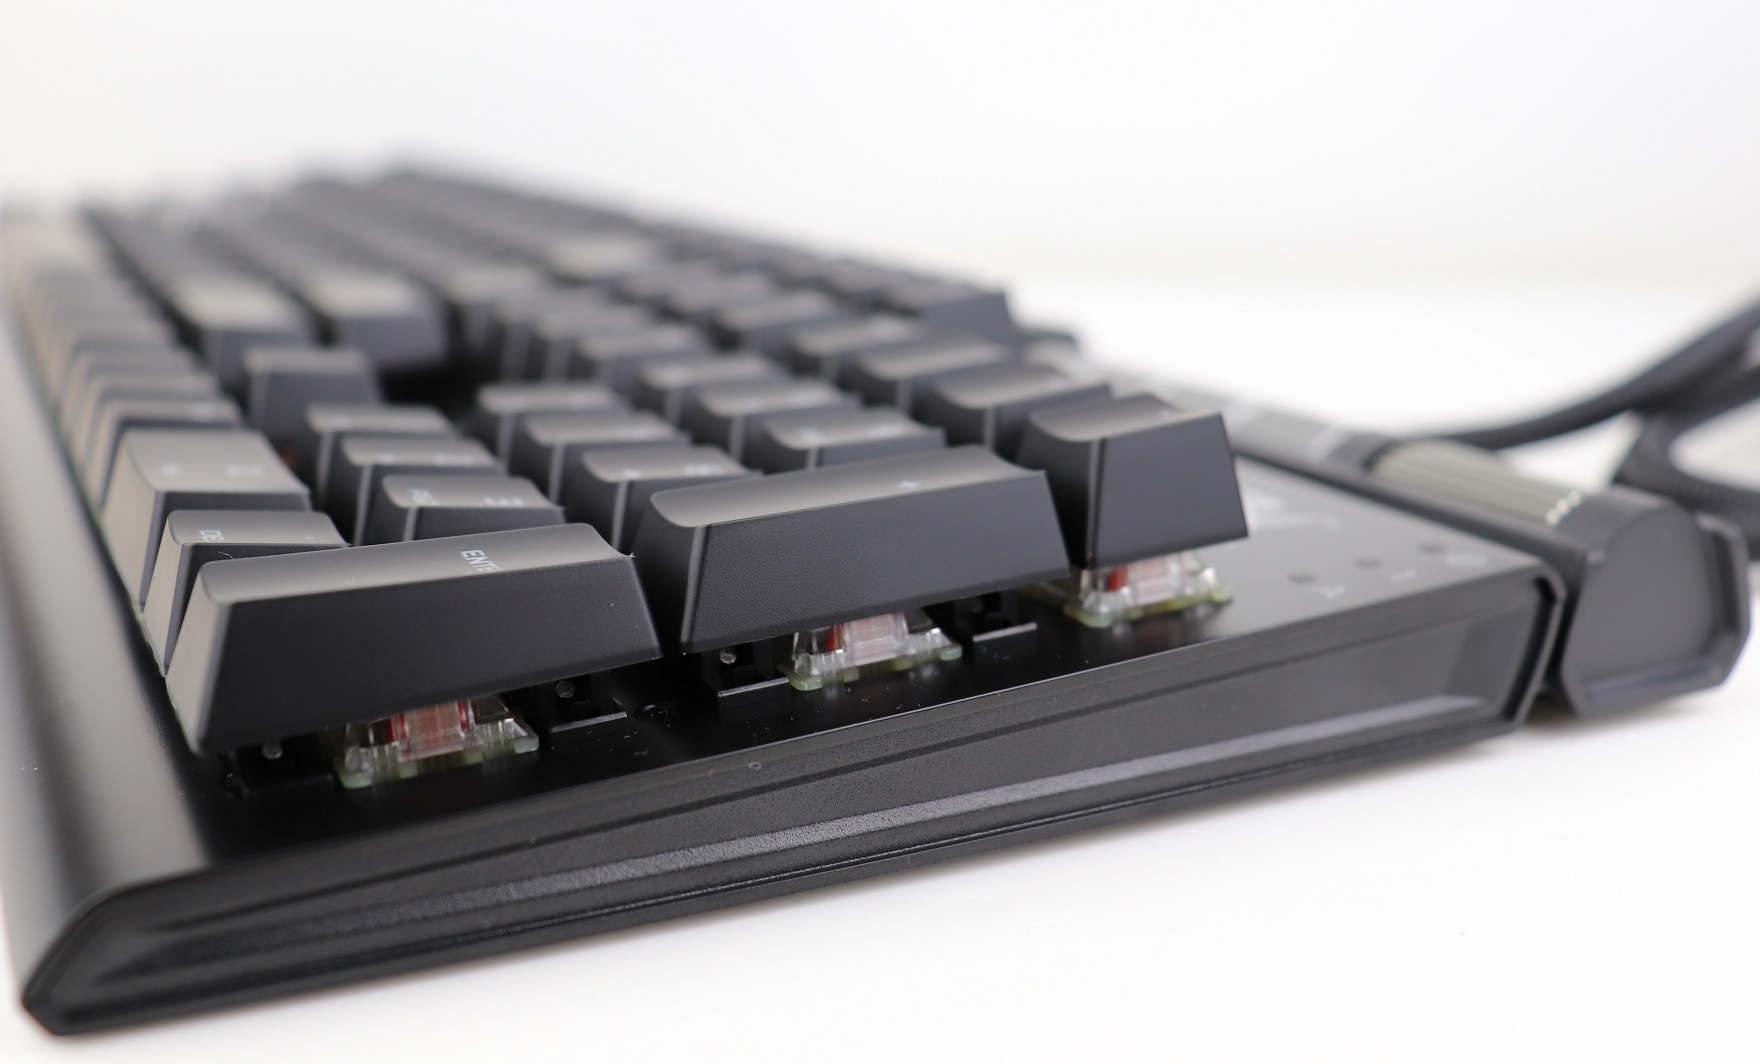
The Alloy Elite RGB implements a modern floating-key design, which does not have thick bezels on all sides.
You can choose between Cherry MX Blue, Brown and Red switches for the Alloy Elite RGB. The switches are not removable and user-replaceable. The RGB LED is fitted inside the translucent plastic housing for more even light diffusion. The switches, of course, use the standard Cherry MX stems and stabilizers, which should be compatible with a lot of aftermarket keycaps.
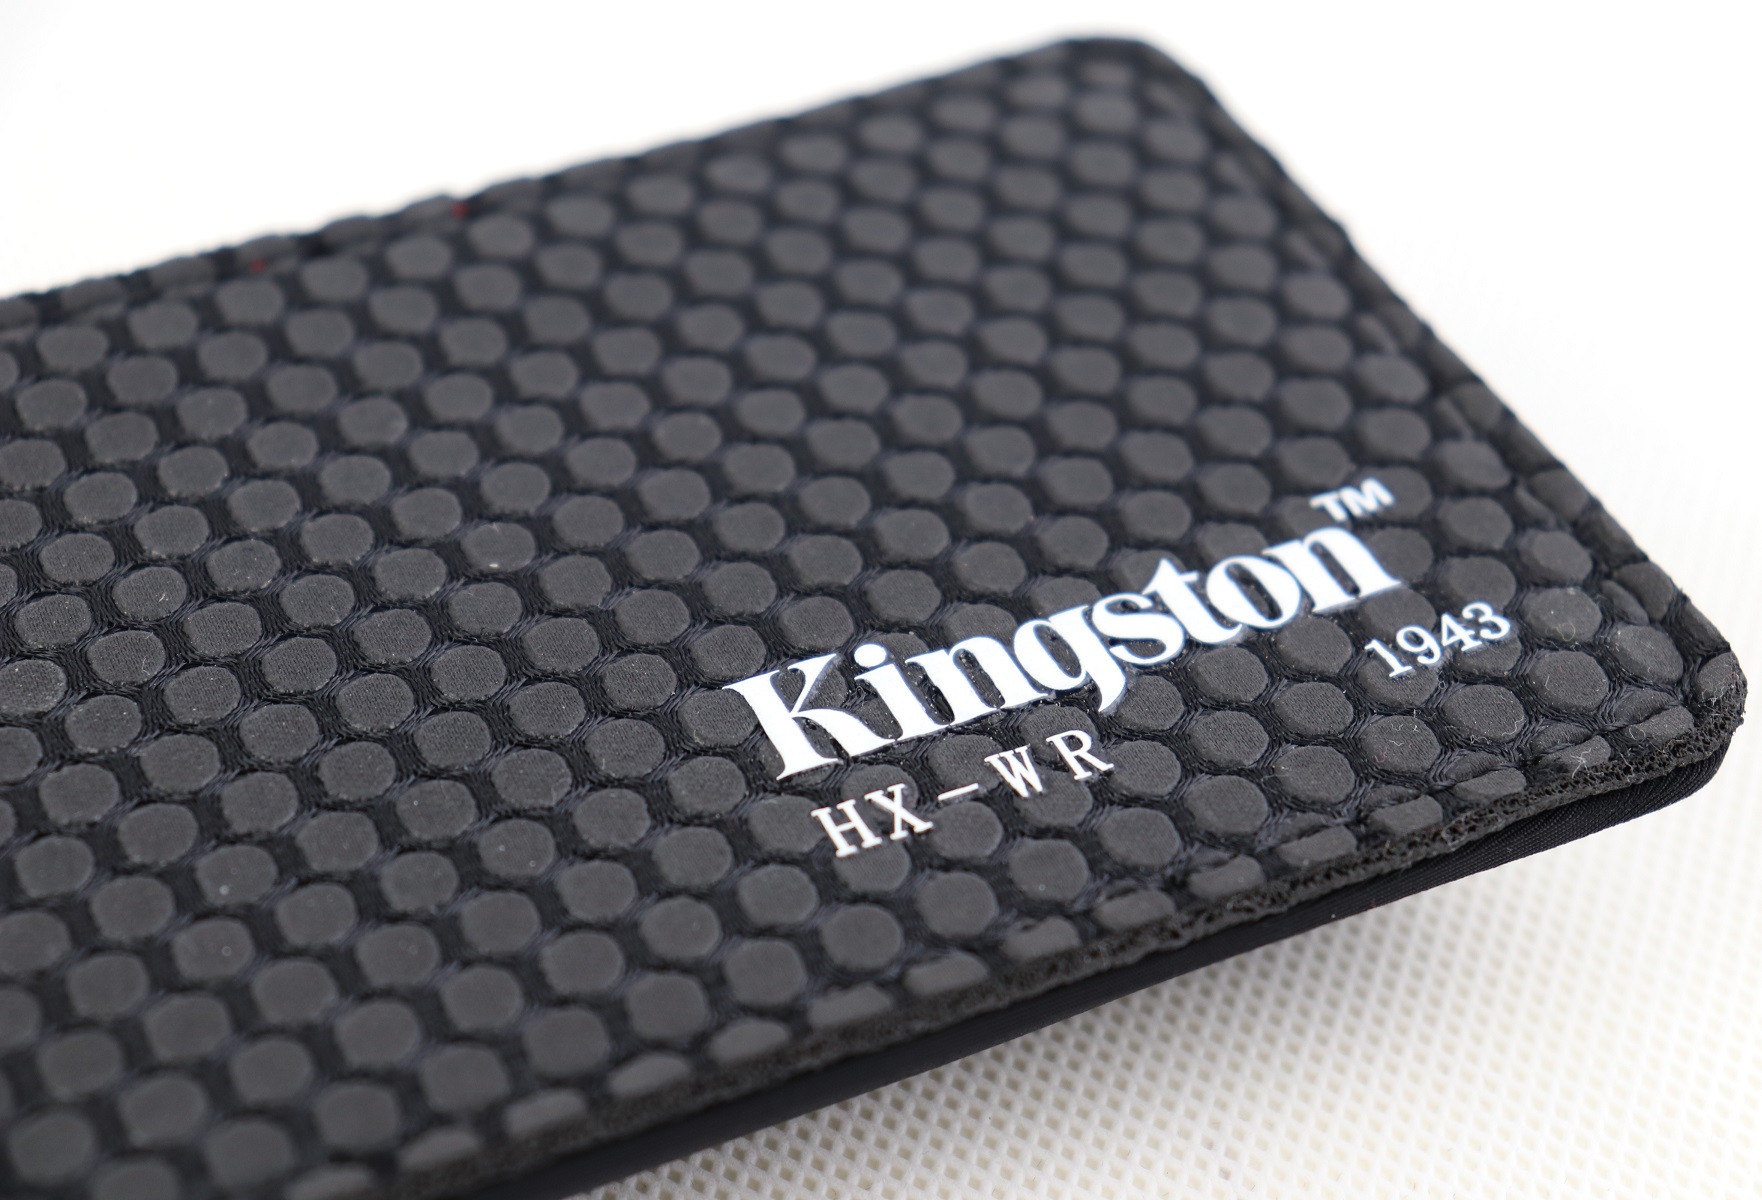
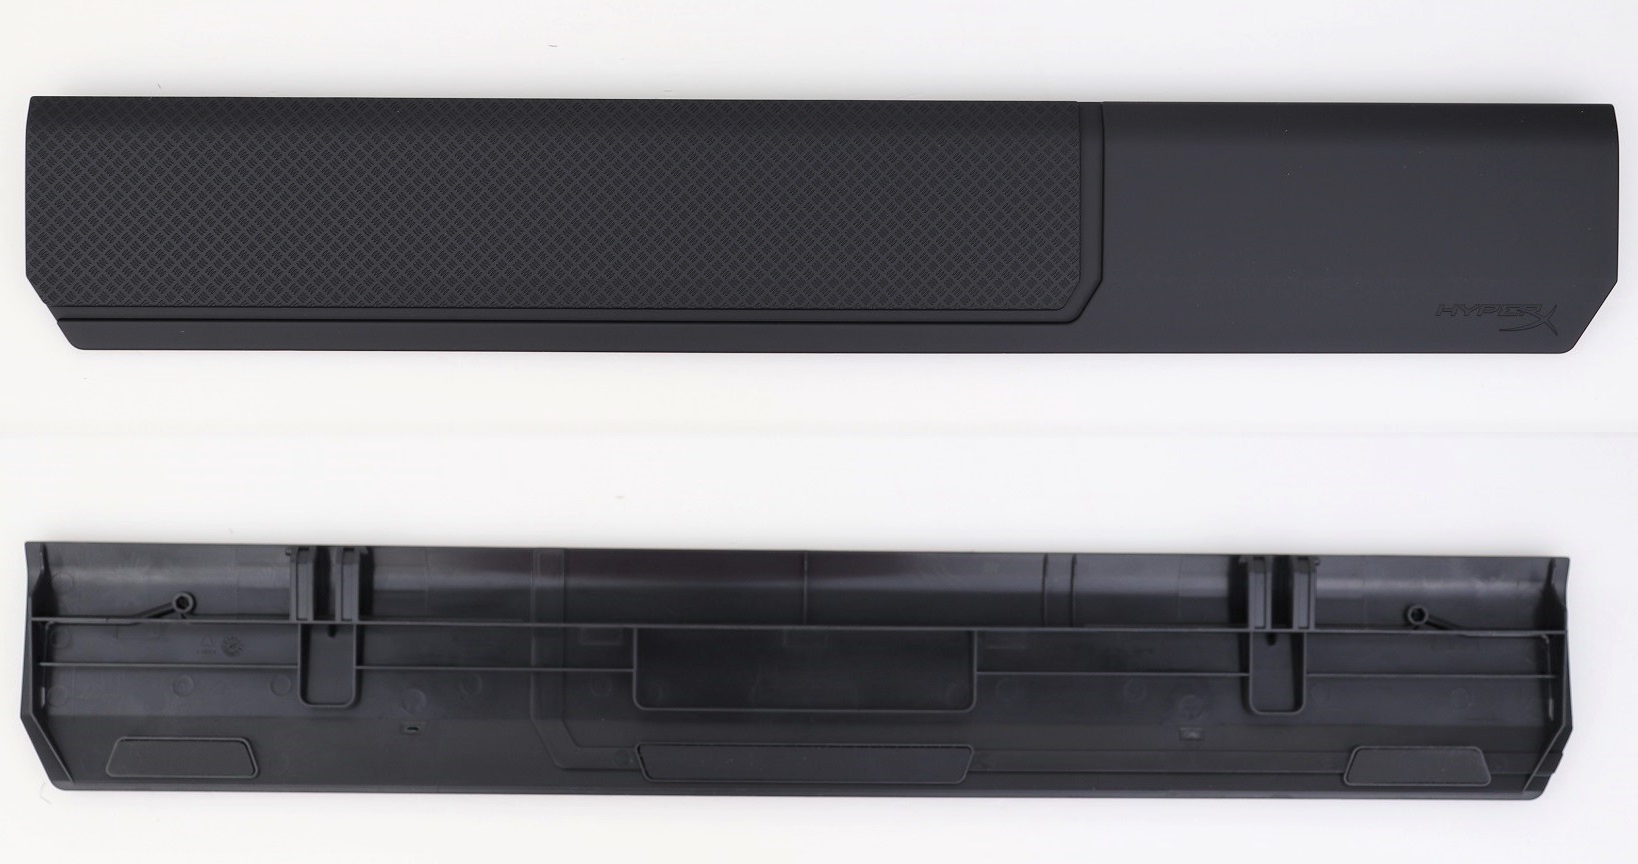
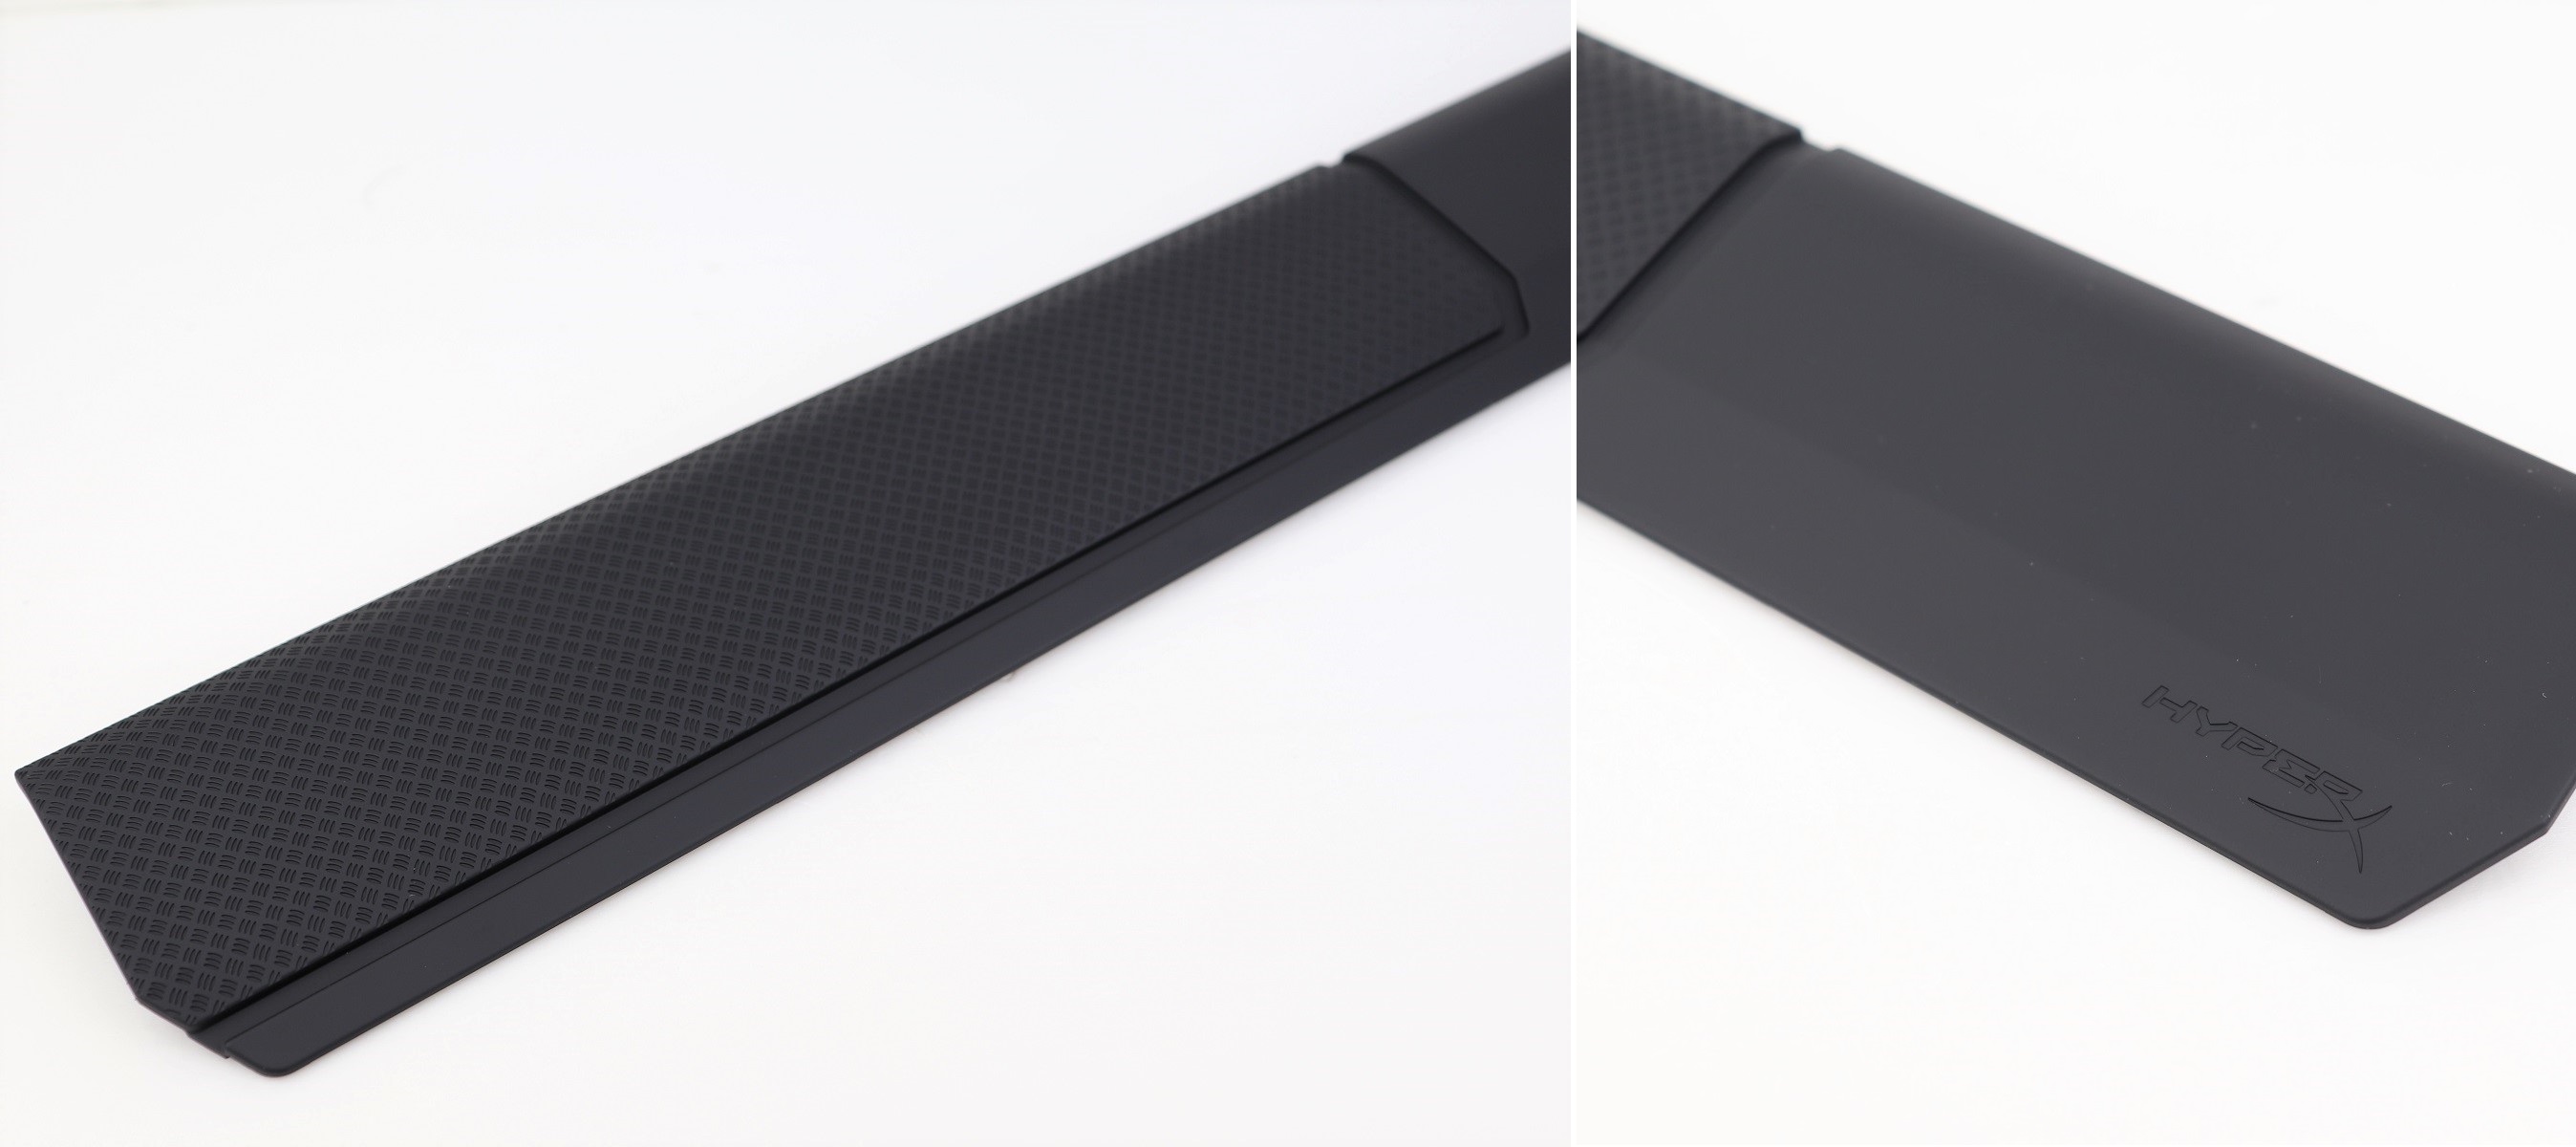
The plastic wrist rest uses the clips on the underside to secure itself to the keyboard. Most of the top surface is textured, similar to those extra keycaps. It feels soft, but does not have actual foam padding. HyperX does make a standalone wrist rest (HX-WR).
About 2/3 of the wrist rest is covered with the textured finish. There is a HyperX logo at the lower right corner.
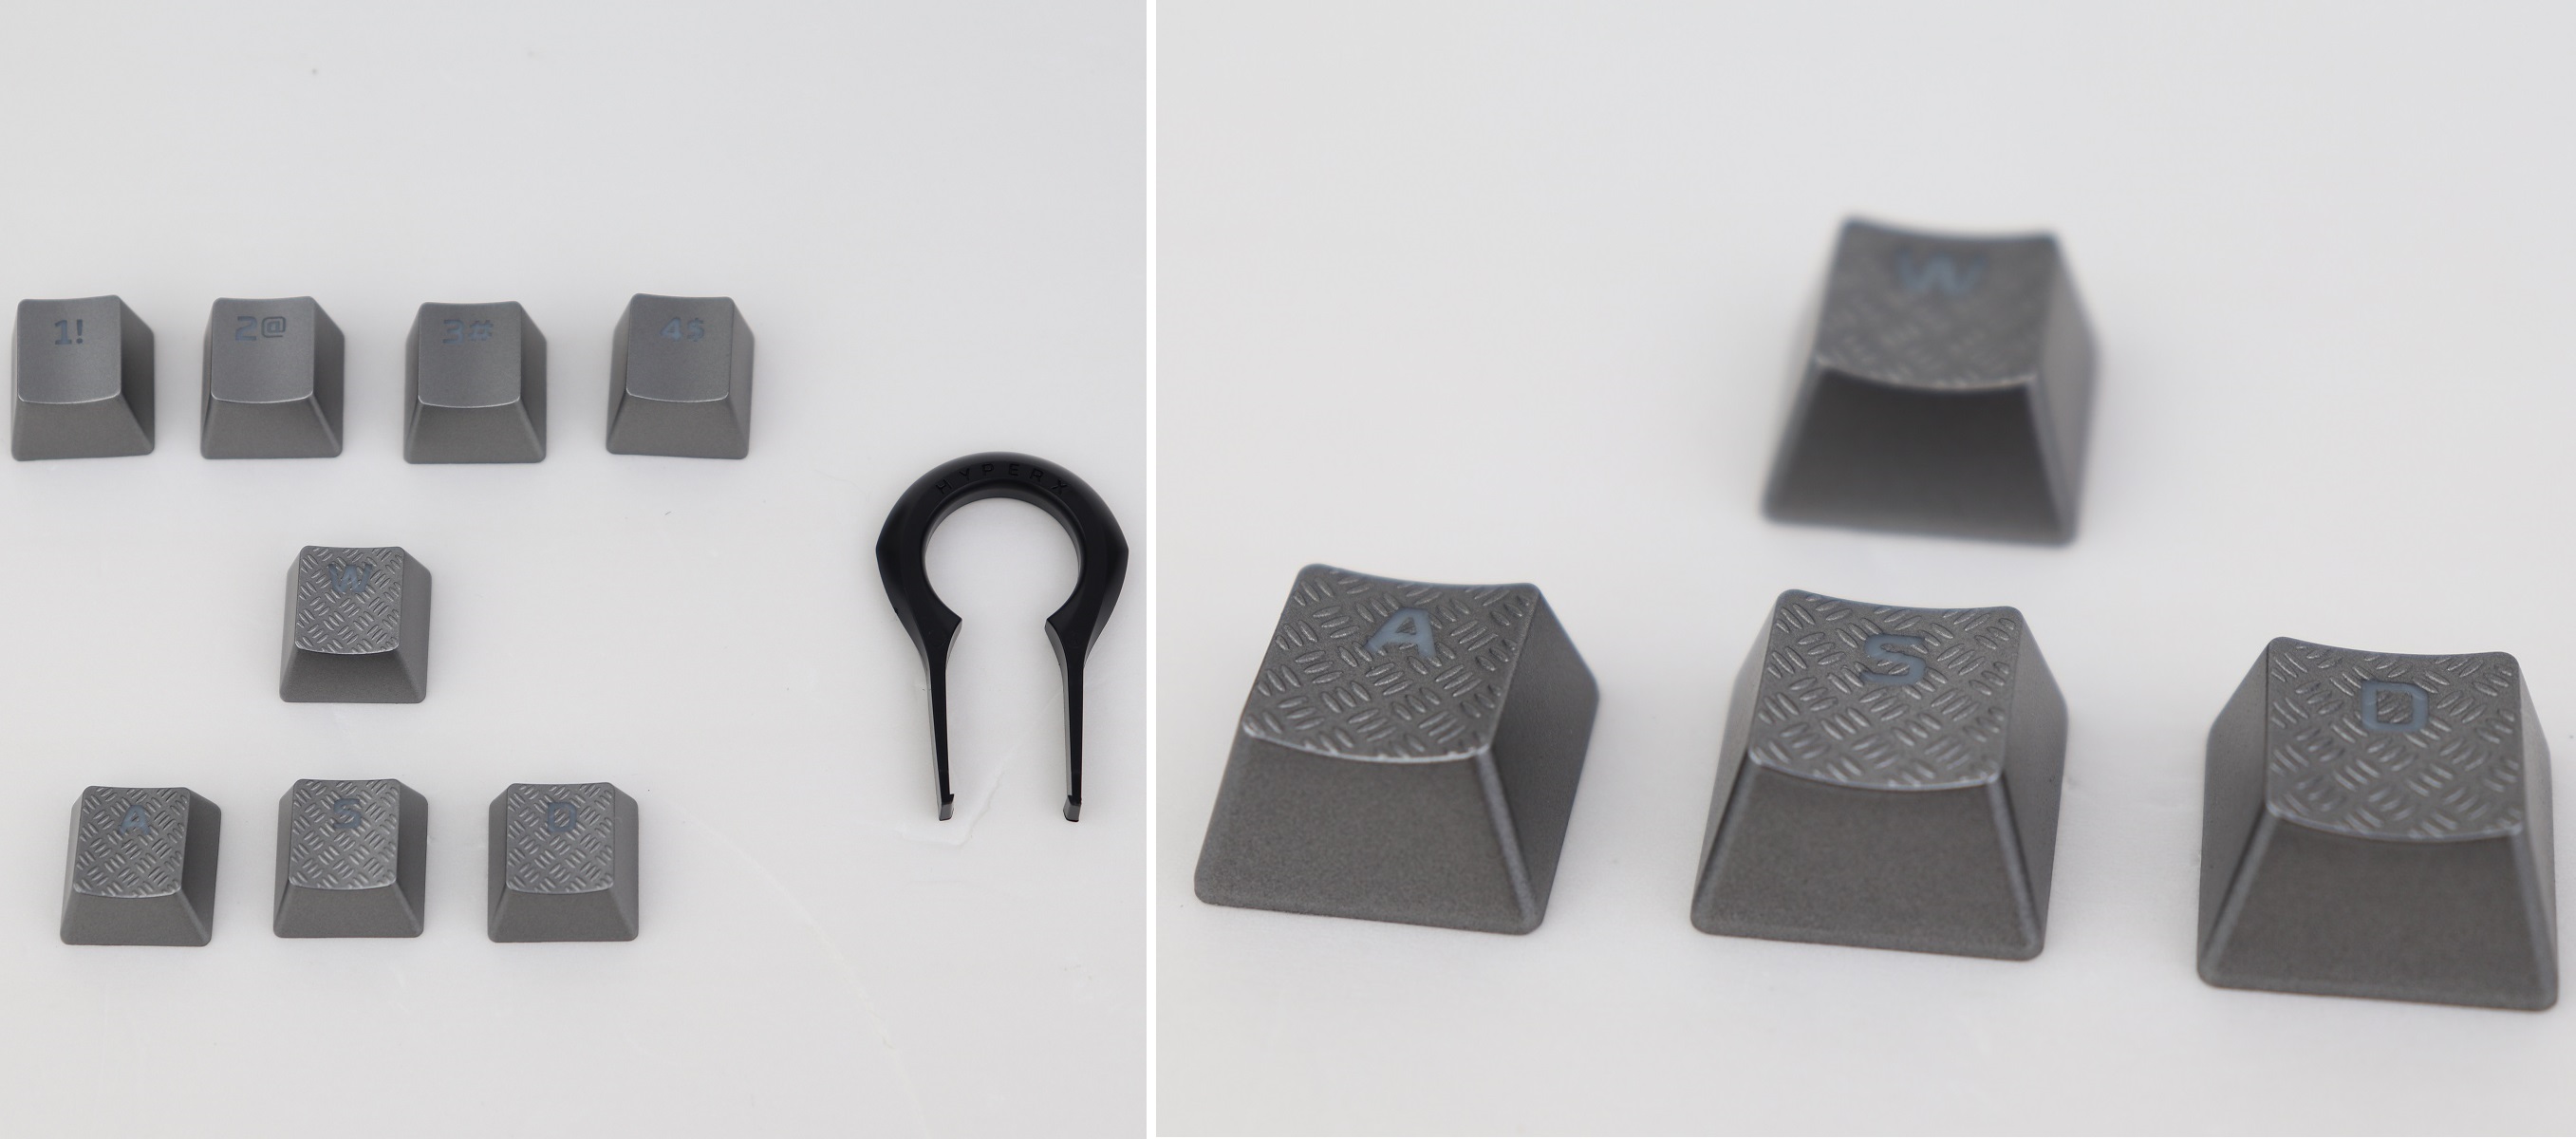
The stock keycaps are made out of ABS plastic with laser-etched legends. The other set of silver-colored keycaps provided in the packaging are the “WASD” and “1234” keys for mostly FPS gamers. The “WASD” keys also have the diamond-plate pattern on top for better grip.
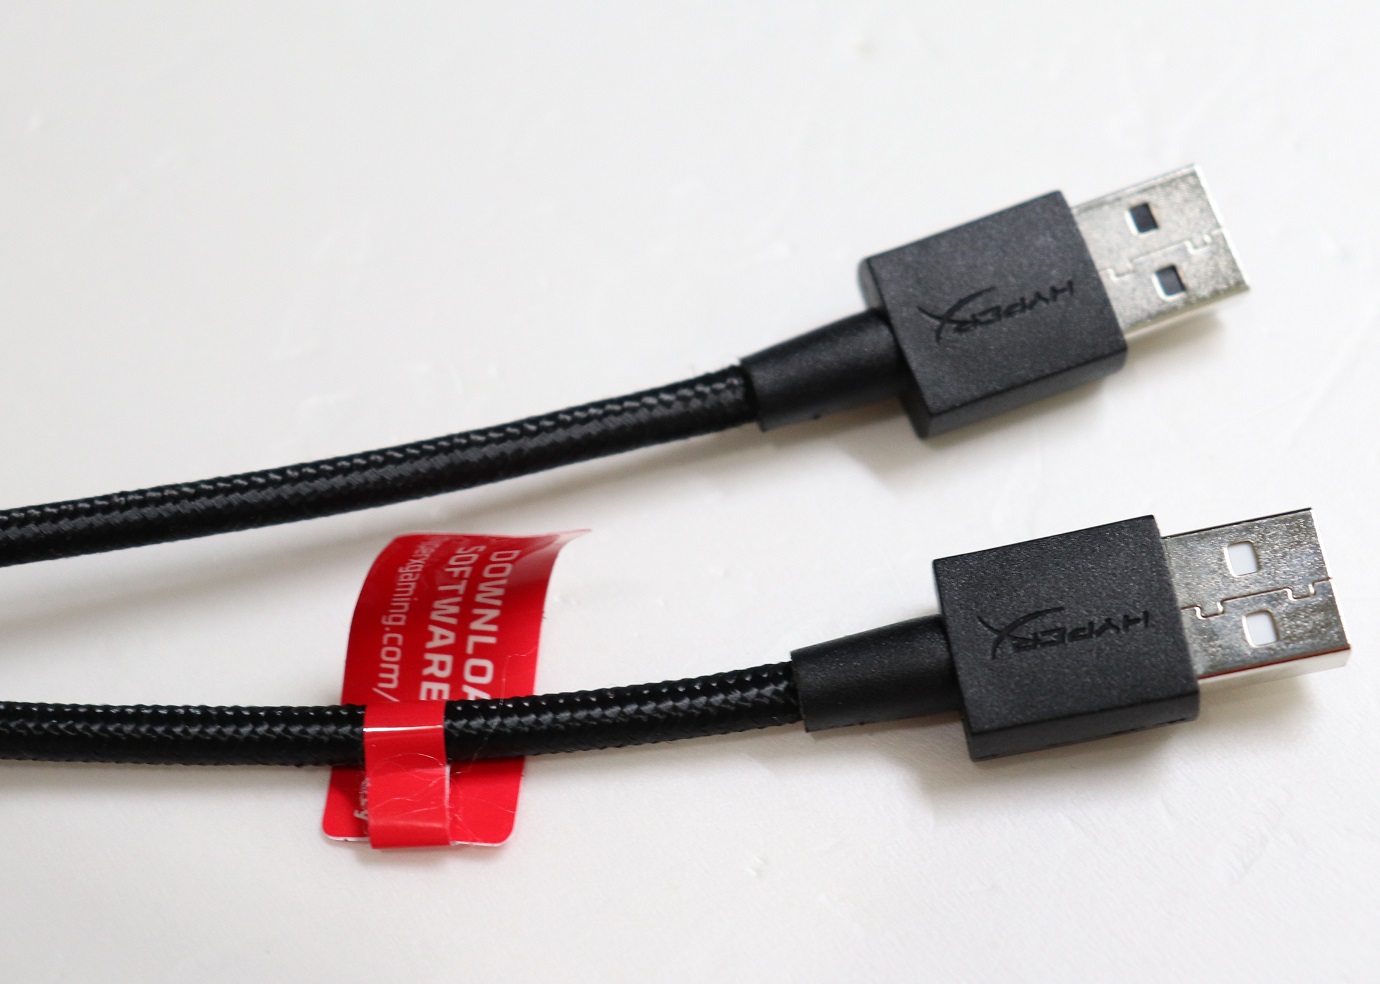
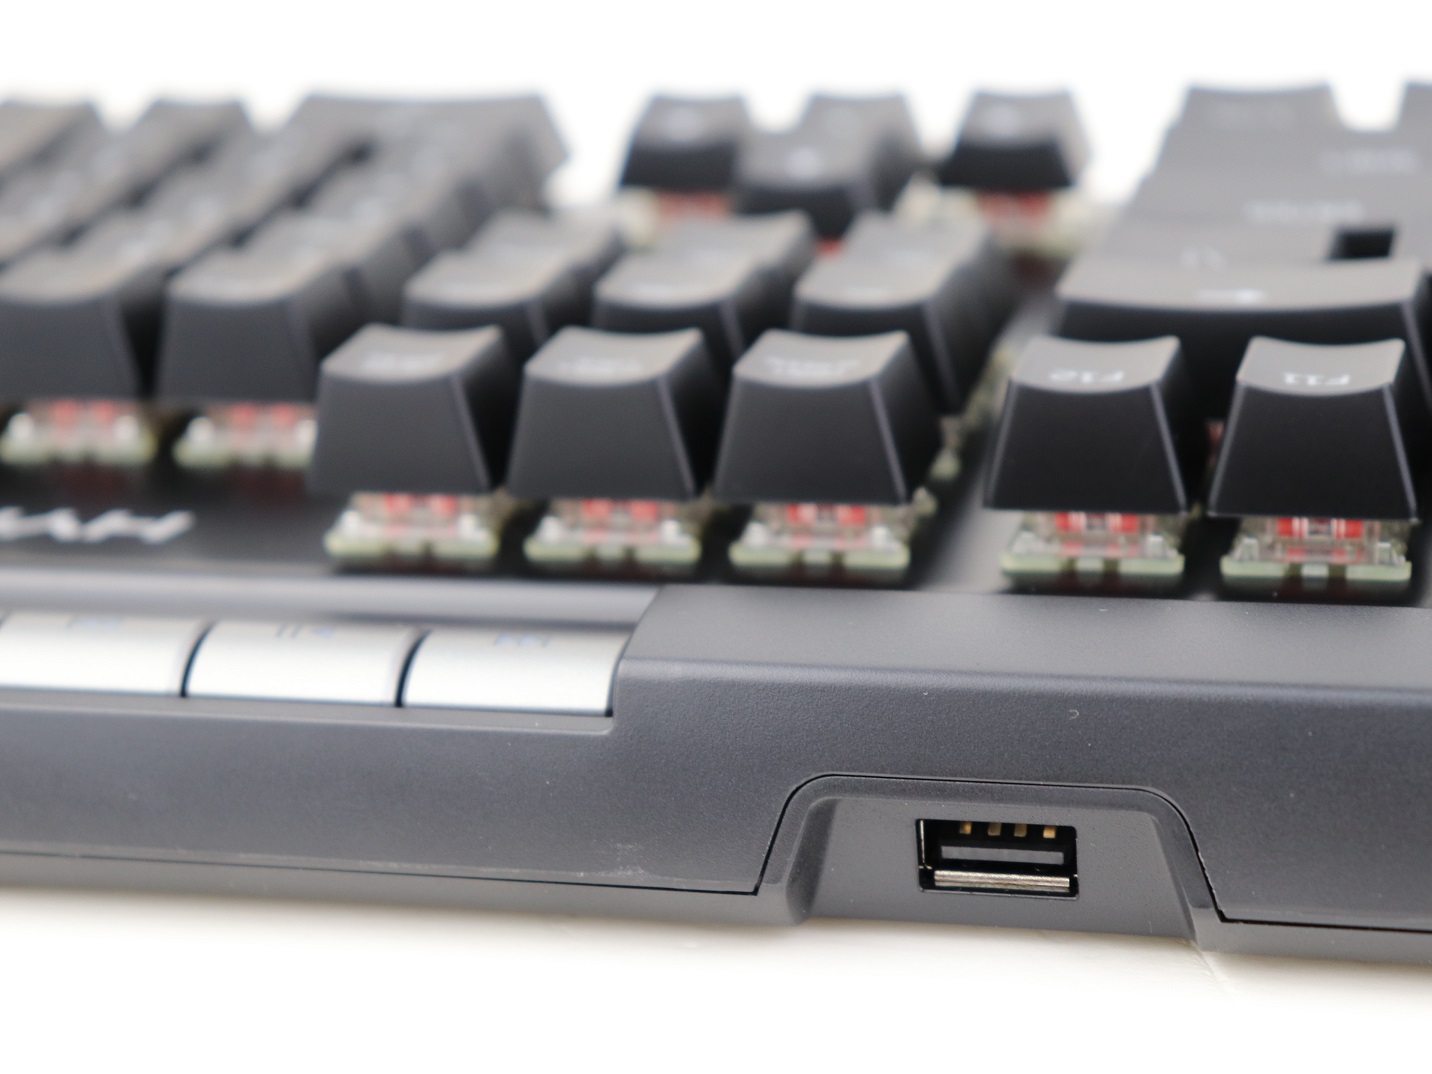
The Alloy Elite RGB has a total of two USB connectors. One of them is for the normal keyboard functions, while the other one is for the USB pass-through port.
Review
Design
The Alloy Elite RGB follows the market trend of bezel-less, floating-key design. Although the frame of the keyboard is made from plastic, HyperX has added a steel top plate for increased rigidity and durability. One of the standout feature is the unique RGB LED light bar between the function key row and media controls.
Cherry MX Red Switches
The Cherry MX switches are built to last for at least 50 million keystrokes. The Red switches in our Alloy Elite RGB is designed for fast-paced gaming, with a linear and smooth key press. It has a short 2 mm actuation distance, 4 mm of total travel and 45 grams of actuation force. The switches feel extremely responsive and light.
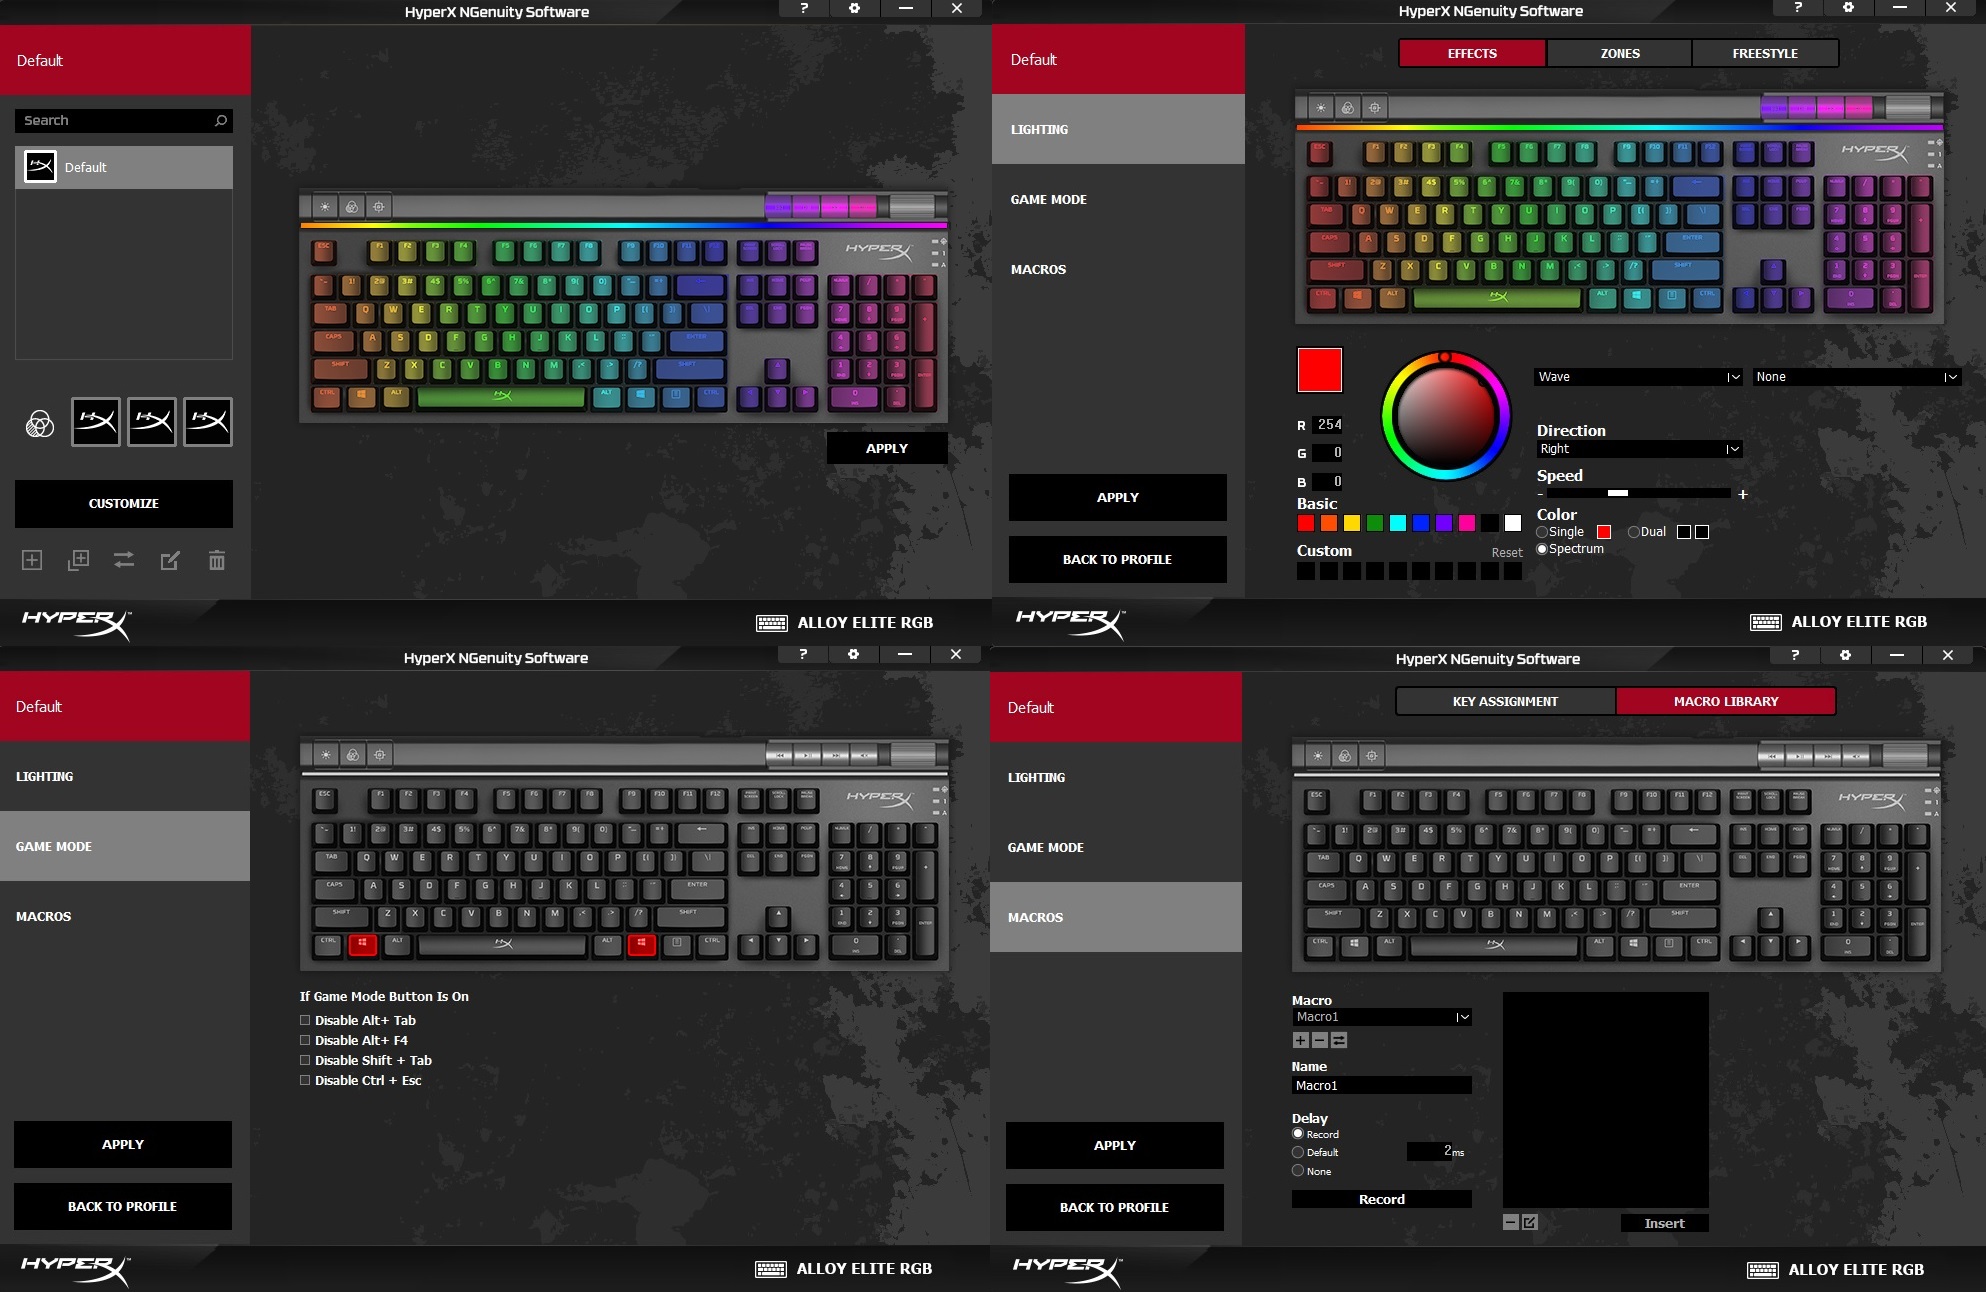
Unlike the newer Alloy Origins (its review here), the Alloy Elite RGB still uses the older version of the NGenuity software to control its RGB lighting. It gets the job done, but lacks the user interface improvements and simpler navigation from the new NGENUITY (Beta).
In the software, you can choose to customize up to three profiles, which will also be stored inside the onboard memory. All 104 keys and the 4 media control keys can be configured individually for different backlighting colors. The top light bar is separated into 18 lighting zones for more granular controls. There are a total of 6 preset lighting effects, such as breathing, trigger and wave.
The Game Mode section allows user to disable certain keys or key combinations, once the “Game Mode” key is pressed. It can prevent accidental clicks during gaming sessions. You can also re-assign keys’ functions, as well as recording Macro actions.
The RGB lighting of the Alloy Elite RGB is bright and colorful, with smooth effect transitions. The translucent switch housings let the light to be diffused and leaked from the sides, creating a very satisfying effect.
You can hear how the Cherry MX Red switches sound, when typing, in the video.
Extra Features
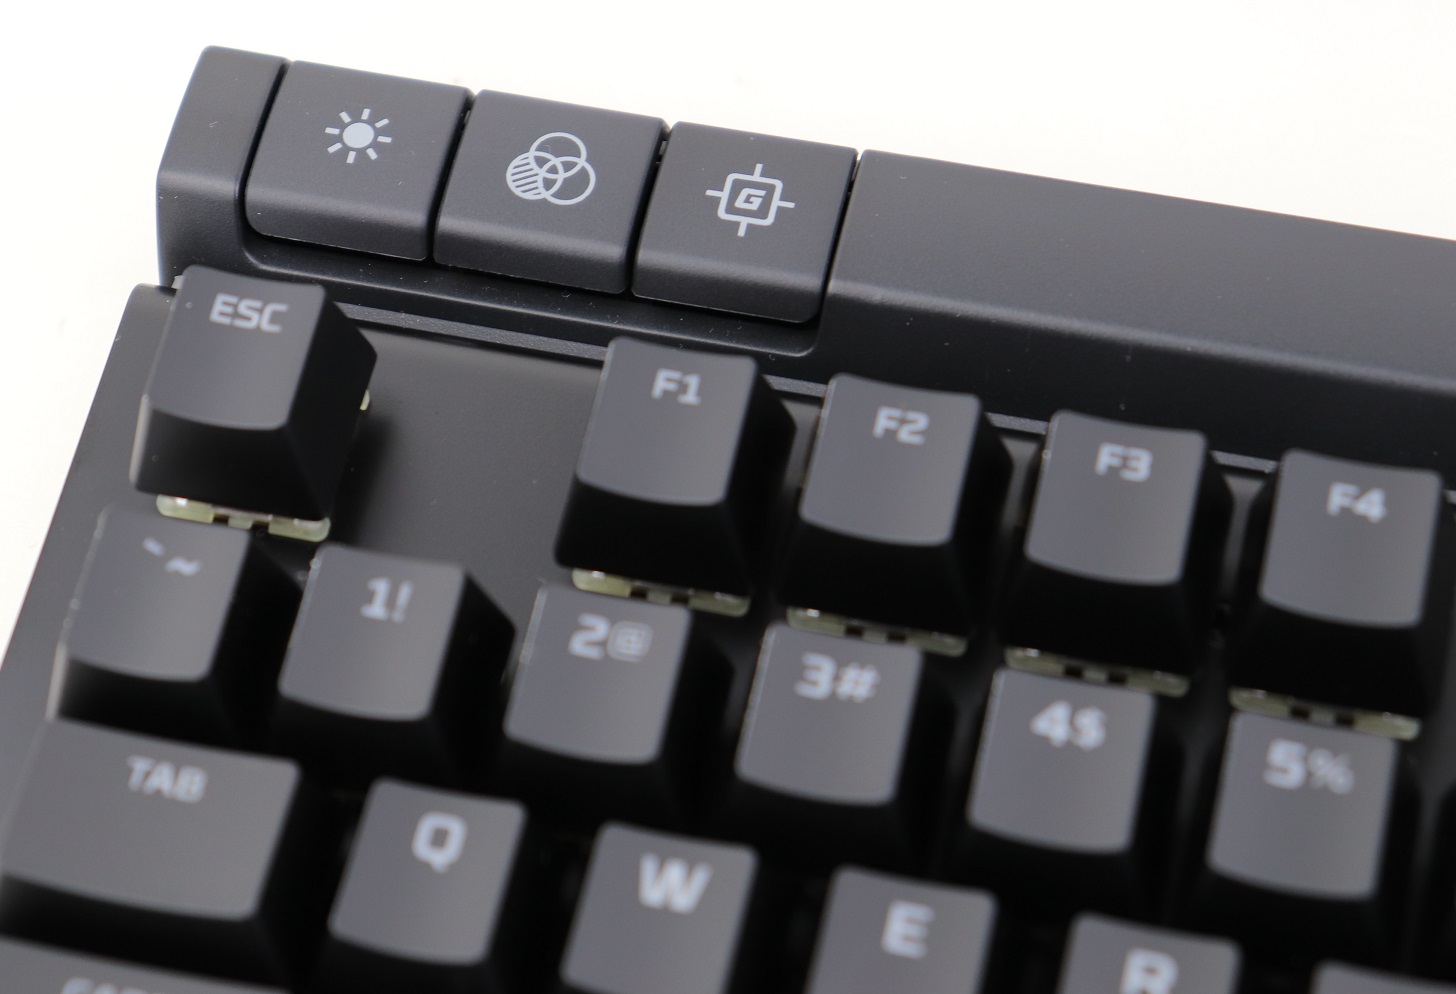
There are three special keys on the top left side of the Alloy Elite RGB, which are the brightness, profile and game mode controls. They are the only keys in the keyboard without any LED backlight. You can adjust the brightness from four levels, and save up to three profiles in the internal memory. The game mode key, when pressed, will disable the Windows key by default.
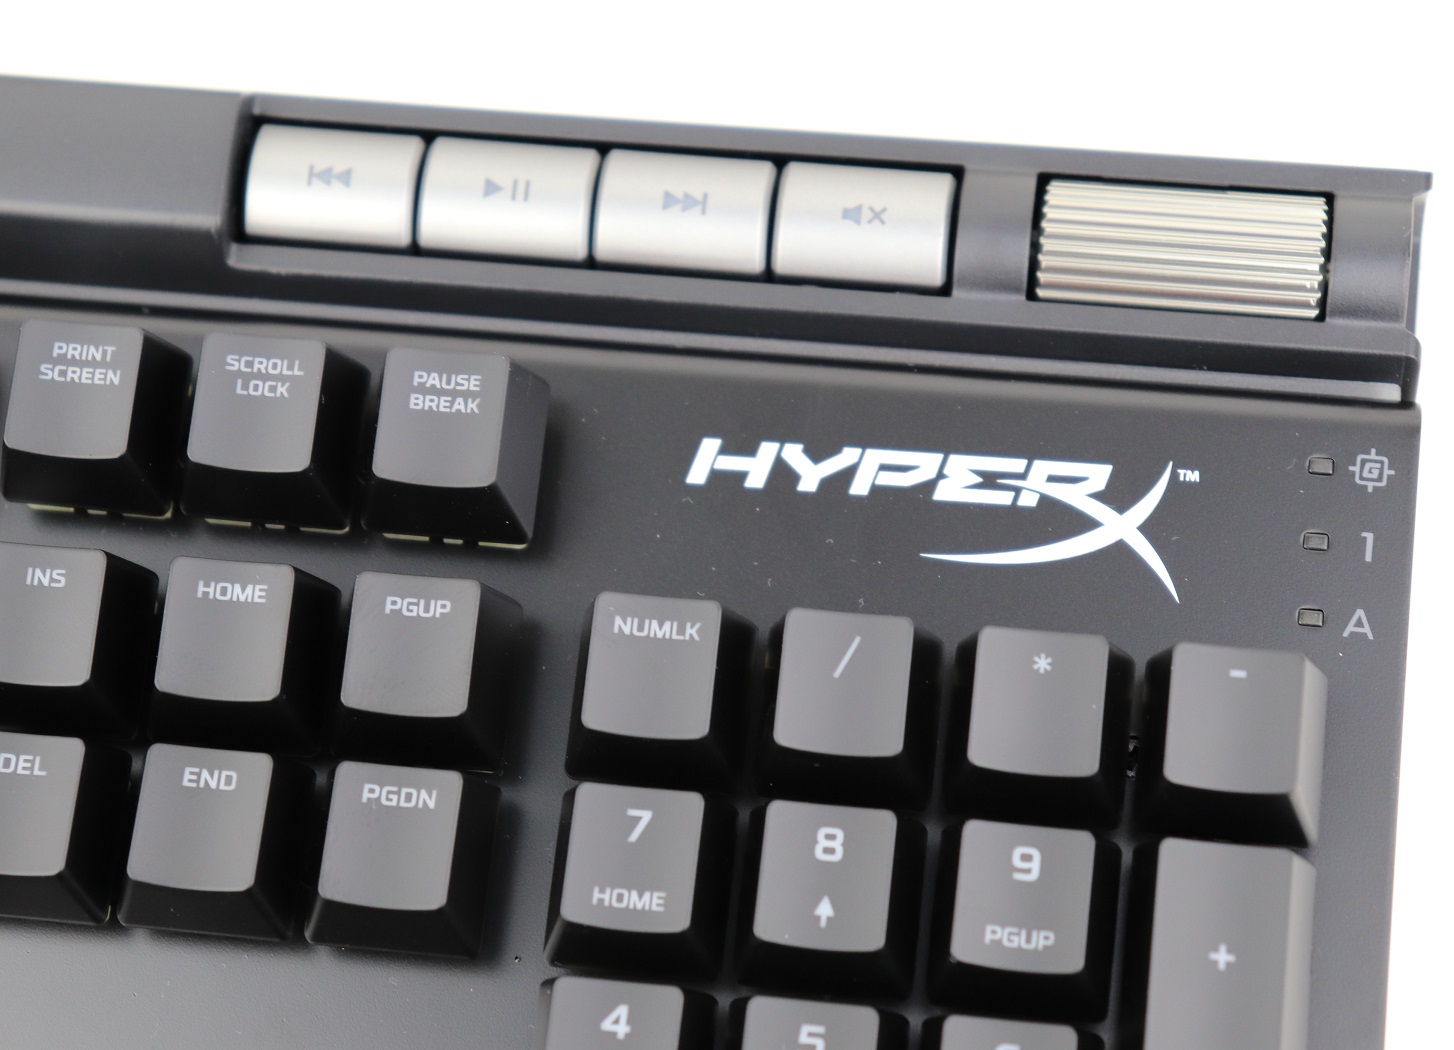
Dedicated media controls with the step-less volume wheel is one of the most convenient feature in the Alloy Elite RGB. It makes adjusting the playback and volume so much quicker and easier.
There is a USB 2.0 Type A pass-through port on the top side. It can be used to provide both power and data transfer.
Conclusion
The HyperX Alloy Elite RGB is an incredible mechanical keyboard, that have a series of features to rival other high-end keyboards in the market. The Cherry MX Red switches work reliably and consistently with effortless key presses, which are perfect for gaming.
I would love to see HyperX adding the Alloy Elite RGB to the support list for the new version of the NGENUITY (Beta) software for better UI design and user experience. Though, the existing software still functions properly with tons of customization options in RGB lighting effects and key assignments.
The Alloy Elite RGB is originally priced at $169 USD (MSRP) with a 2-year warranty, but is on sale for around $120 USD to $140 USD at the time of this review. The current price is similar to those feature-packed, premium mechanical keyboards from notable brands. For example, the Corsair K70 RGB MK.2 and Cooler Master MK850 costs $159.99 USD (MSRP) and $154.99 USD (MSRP) respectively. You get an exceptionally-built keyboard with astounding RGB lighting, if you choose to buy the Alloy Elite RGB.
You can purchase the keyboard from your local/online resellers or the links below from Amazon and Newegg.
Thanks HyperX for providing us the keyboard for review. (Review Sample)
Feel free to leave comments below, if you have any opinion about this website. Share the website around if you enjoy reading it. Subscribe to our Newsletter or follow our Twitter, Facebook and Instagram.
Support this website simply by shopping in Amazon and Newegg. It will give us small kickbacks, if you use the above affiliate links to make any purchases, which will help us grow.
BIOS (Basic Input/Output System) is the firmware for all the hardware inside your computer to initialize/boot up correctly. Keeping the motherboard BIOS up-to-date is incredibly important for a stable system. Sometimes, especially with newer processors, manufacturers will release BIOS updates that can improve performance. Nowadays, it is easy to update your motherboard BIOS using just a USB flash drive.
In general, you can flash the BIOS file either in Windows or in the BIOS directly with most modern motherboards. I prefer doing it from the BIOS with a USB drive, as it does not require you to have a functional OS installed.
Most motherboards will need an already compatible processor installed before performing an BIOS update. Some high-end motherboards from ASUS and MSI do allow a CPU-free BIOS flashback.
Make sure your CPU is supported by the motherboard.
Download the latest BIOS file in the support page of your particular motherboard model.
Unzip the downloaded BIOS file.
Put the file into the root folder of a USB flash drive (for us, is the Z37KSA4.30).
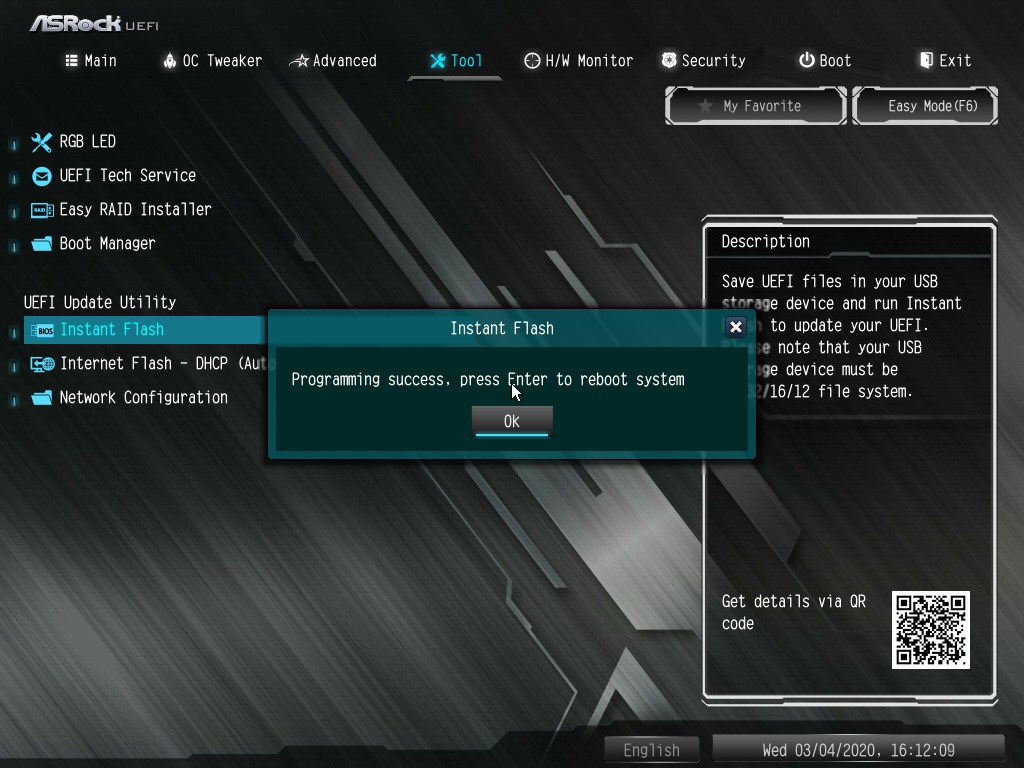
BIOS update on the ASRock Z370 Killer SLI
The actual wordings and looks of the BIOS flash feature may defer slightly, depends on the brand of the motherboard.
Restart your computer to get into BIOS. You can usually enter BIOS by pressing “F2” or “DELETE” on the keyboard, once you see the prompt.
Make sure that your USB flash drive is detected by the BIOS.
Click on “Instant Flash” (Name will be different from brand to brand) and select the downloaded BIOS file.
Press “Yes” to confirm and wait for the update process to finish. The computer will have to remain powered on, or else the update may fail and brick the system. If your area is prone to power outage, please consider plugging the computer into an uninterruptible power supply (UPS).
The system will reboot after the BIOS update is completed successfully. You can continue using the computer as normal.
Feel free to leave comments below, if you have any opinion about this website. Share the website around if you enjoy reading it. Subscribe to our Newsletter or follow our Twitter, Facebook and Instagram.
Support this website simply by shopping in Amazon and Newegg. It will give us small kickbacks, if you use the above affiliate links to make any purchases, which will help us grow.
It is common for users to alter the look and feel of mechanical keyboards by changing the default keycaps. Usually, custom keycaps can be very costly, because of the small demand. It is surprised for HyperX to release a set of replacement keycaps for an extremely affordable price of $25 USD (MSRP). Let’s take a look.
Unboxing
The keycap set is offered in two options, black and white. Our review sample is the black version (HXS-KBKC3). You should be familiar with the white and red color scheme of the packaging, from other HyperX products. You get a glimpse of how the pudding keycaps look from the photos on the box. A short list of features are explained in nine different languages at the back.
Inside, there is a keyboard layout map with all the locations of the keycaps, which makes the installation more convenient and straightforward. The total of 104 keys and the included keycap puller are vacuum-sealed into three separate plastic bags.
HyperX Double Shot PBT Pudding Keycaps
The HyperX keycap set is guaranteed to work with all HyperX mechanical keyboards. Most other keyboards, using the Cherry MX style key stem and standard layout, should also be compatible.
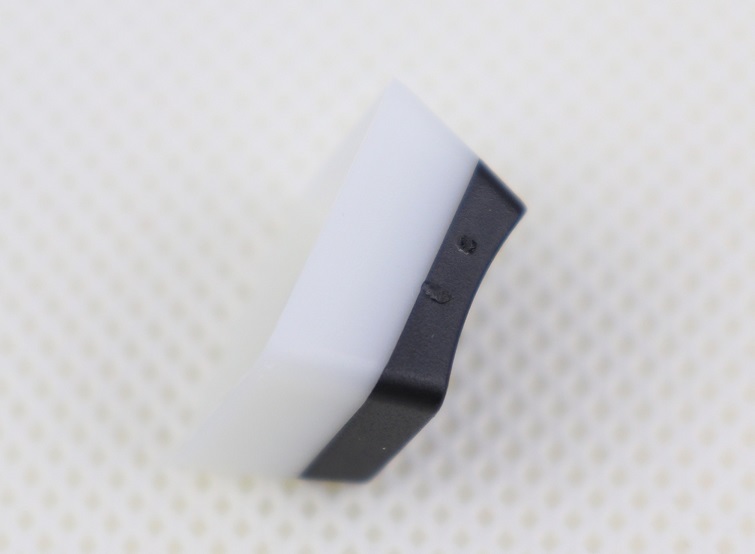
The so-called “pudding” design is featured on the keycaps, with the white base and black top. The RGB LED lighting will be able to pass through the frosted white portion to create a more dramatic and pleasant effect.
The keycaps are made from PBT (Polybutylene terephthalate) plastic, which is considered to be the more premium option for keycaps. Unlike the more mainstream ABS plastic, the surface of the keycaps will not become shinny, because of the oil from your fingers. The keycaps are also double shot-injected, where the top black layer and the bottom white layer are molded together. Therefore, the legends will never wear off over time.
The HyperX PBT keycaps have a more textured surface or a matte finish, which do not attract as much oil/grease as the stock ABS keycaps. They are expected to be very durable with thicker walls, which may contribute to better typing experience.
The three vacuum-sealed plastic bags do a good job in protecting the keycaps during shipping, but they cannot be re-used once opened. It would be awesome, if HyperX includes a tiny carry pouch or box to store the removed stock keycaps from the keyboard.
Overall, the build quality of the keycaps are excellent. However, some (not many) keycaps will have minors defects from the injection molding process.
The translucent white plastic of the pudding keycaps allows for the awesome light diffusion. The effect makes it seems like the RGB LEDs are installed directly inside the keycaps.
Conclusion
If you want to further improve the RGB lighting of your existing mechanical keyboard, the simplest way is to get the HyperX Double Shot PBT Pudding Keycaps. Non-shinny keycaps with long-lasting legends are the added benefits.
The keycap set is priced at $24.99 USD (MSRP), but is currently on sale for $19.99 USD at the time of this review. A 2-year warranty is provided. A custom set of PBT keycaps can easily costs you over $50 USD. I would recommend considering the HyperX keycaps first, especially if you already owned a HyperX mechanical keyboard.
You can purchase the keycap set from your local/online resellers or the links below from Amazon and Newegg.
Thanks HyperX for providing us the keycap set for review. (Review Sample)
Feel free to leave comments below, if you have any opinion about this website. Share the website around if you enjoy reading it. Subscribe to our Newsletter or follow our Twitter, Facebook and Instagram.
Support this website simply by shopping in Amazon and Newegg. It will give us small kickbacks, if you use the above affiliate links to make any purchases, which will help us grow.
Wrist rest may not be mandatory, though a cleverly-designed one often provides a more comfortable typing experience by reducing stress from the wrists and shoulders. Not every keyboard comes with an included wrist rest, but is the HyperX Wrist Rest (HX-WR) worth the $20 USD (MSRP) price tag?
Unboxing
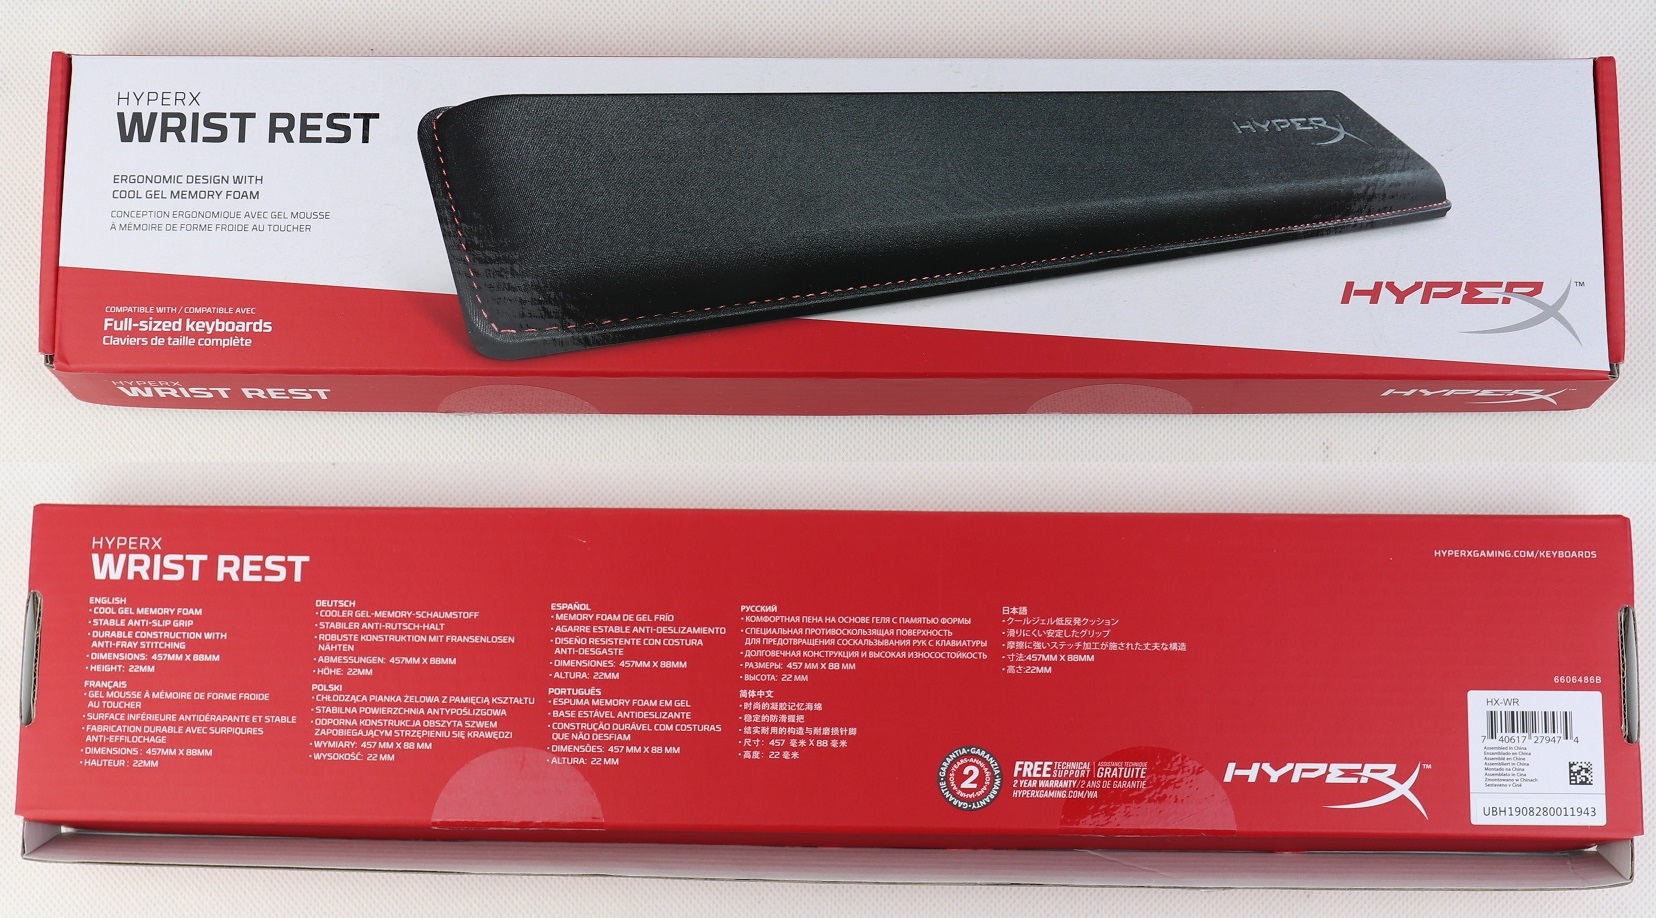
As expected, the wrist rest sports the same red and white design for the packaging as other HyperX products. The front shows a photo of the wrist rest, as well as the logo and model name. You get a short feature list in nine different languages at the back.
HyperX Wrist Rest (HX-WR)
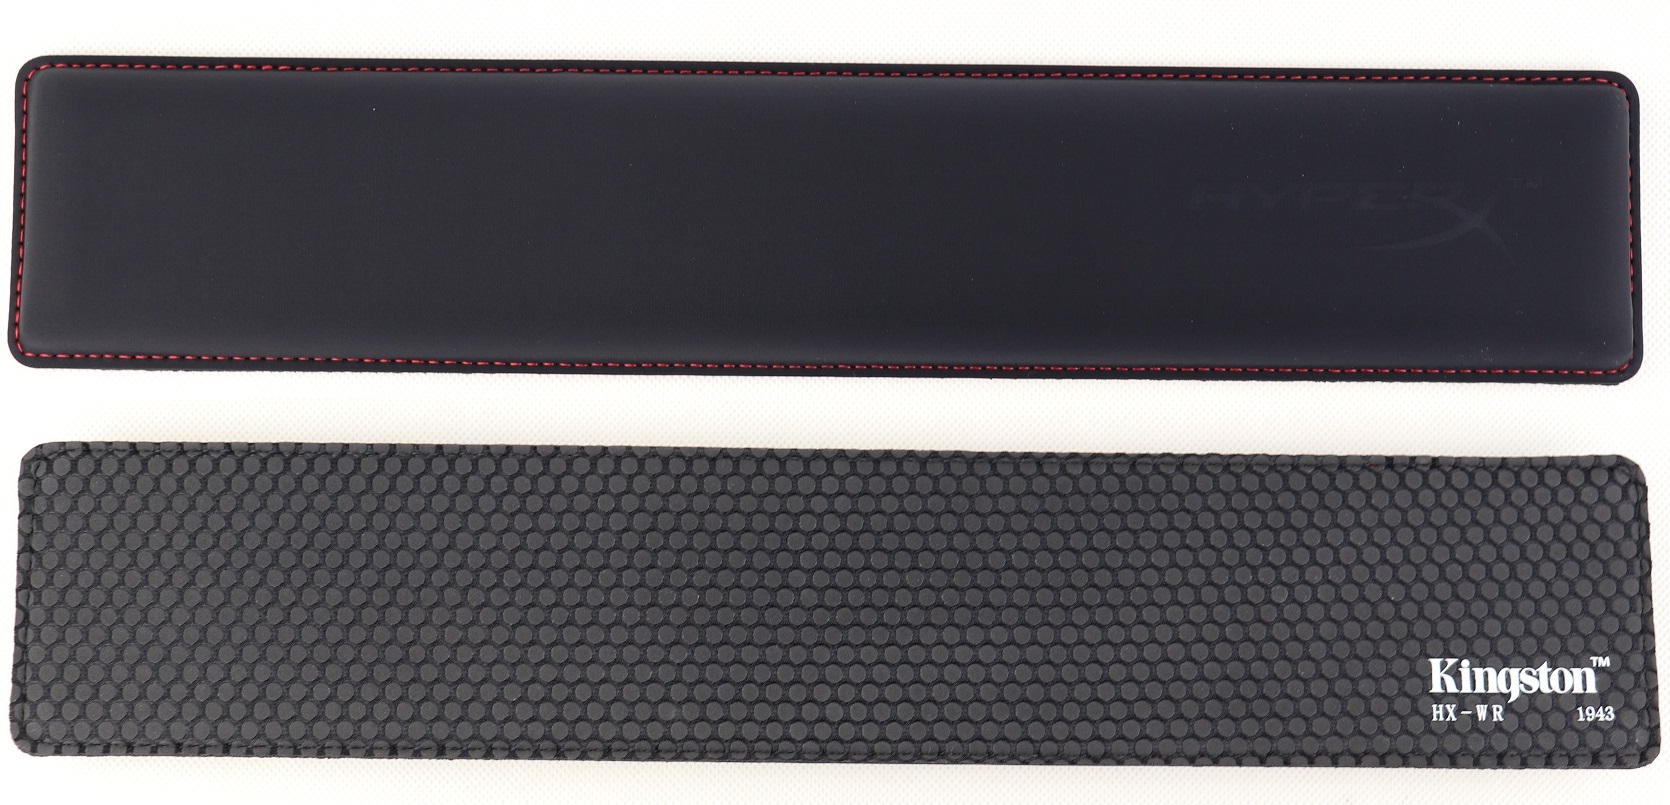
The HyperX Wrist Rest is compatible with most full-sized 104-key keyboards. It has a length of 45.7 cm and a width of 8.8 cm. HyperX is yet to release a version for smaller keyboards.
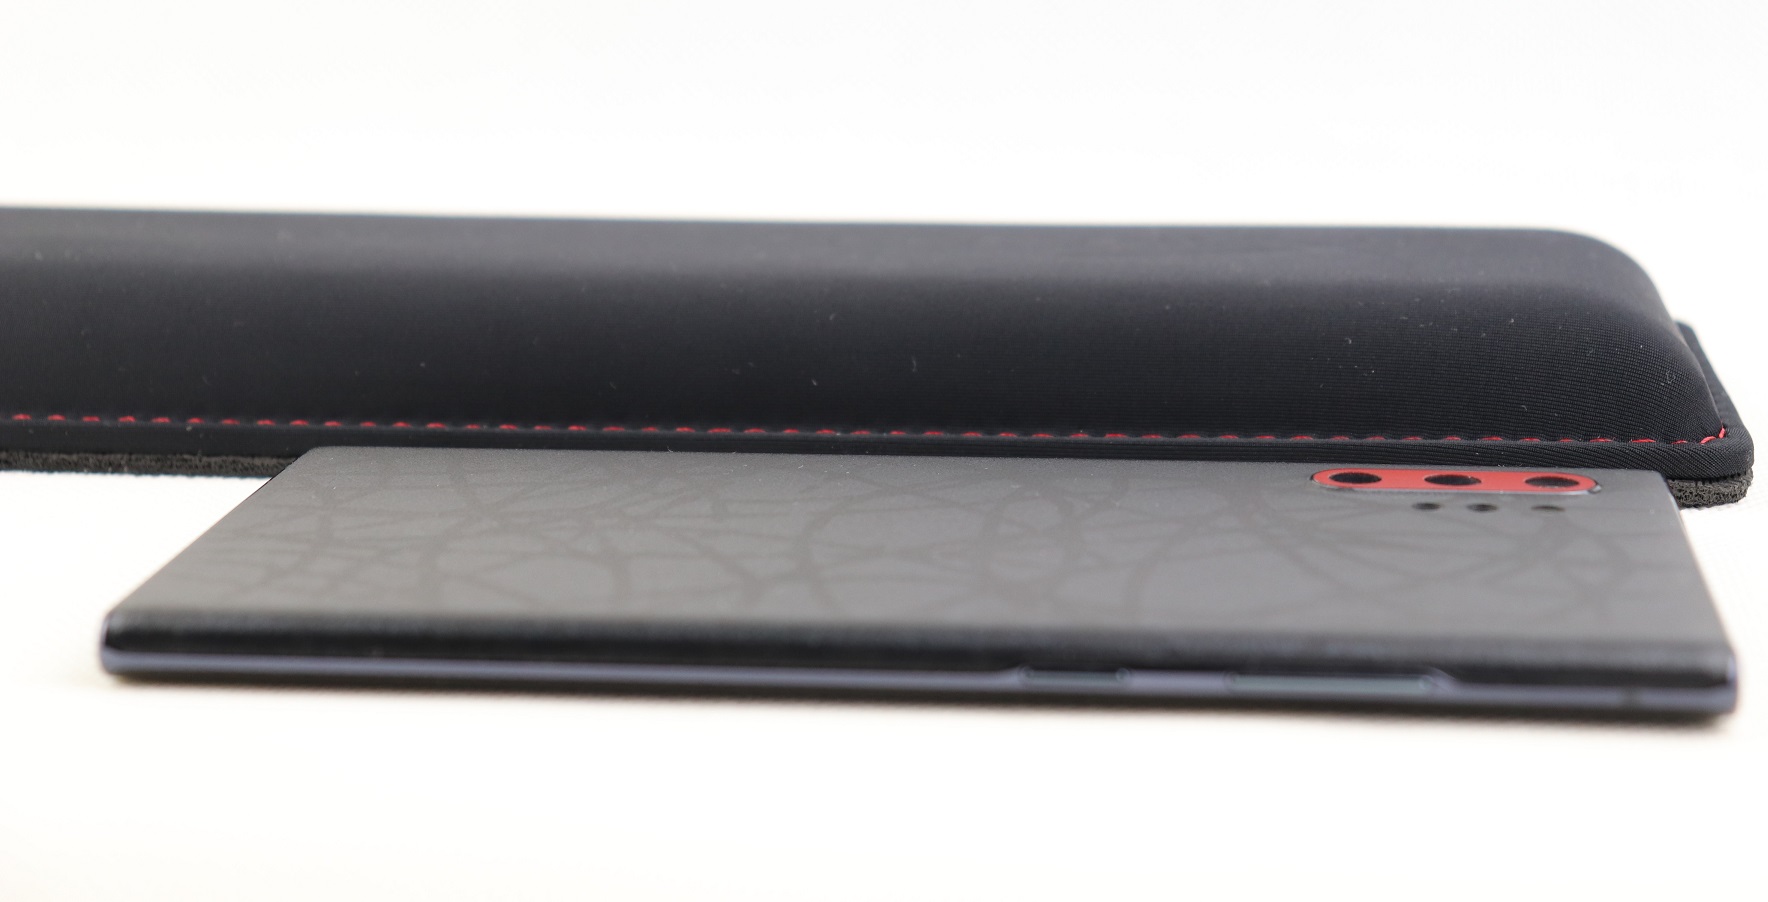
The wrist rest has a thickness of 2.2 cm and most of it is the dense cool gel-infused memory foam. For your reference, the Samsung Galaxy Note 10+ inside the picture is 7.9 mm thick.
On top of the wrist rest is a thin layer of soft fabric to cover the internal padding, which feels similar to nylon and smooth to the touch. Sharp red stitching around the whole wrist rest secures everything in place, and adds a nice “gamery” look to it. There is also an embossed HyperX logo on the right side.
The back of the HyperX Wrist Rest is equipped with the same anti-slip surface as their mouse pads (their reviews here). Those small rubber feet help prevent the wrist rest from sliding on the desk.
Conclusion
The HyperX Wrist Rest (HX-WR) performed really well with excellent build quality and materials. The memory foam padding is extremely comfortable and supportive, which it conforms to the shape of your hands/wrists within seconds. For my experience, ventilation seems to be an non-issue with the cool gel. It did help relieving the wrists’ stress when typing, possibly reducing the chance of getting computer-induced medical problems, like carpal tunnel syndrome (CTS).
The wrist rest is priced at $20 USD (MSRP) with a 2-year warranty. It is currently on sale for $17 USD at the moment of this review. You may be able to get a generic wrist rest for half the price, but you may have a less enjoyable experience without the awesome memory foam. The HyperX Wrist Rest costs similar with 3M at around $15 USD to $25 USD, depending on sizes. The slight price premium (still very affordable) is worth the incredible comfort, in my opinion. I would hope HyperX release a shorter version for the increasingly popular Tenkeyless (TKL) keyboards.
You can purchase the wrist rest from your local/online resellers or the links below from Amazon and Newegg.
Thanks HyperX for providing us the Wrist Rest for review. (Review Sample)
Feel free to leave comments below, if you have any opinion about this website. Share the website around if you enjoy reading it. Subscribe to our Newsletter or follow our Twitter, Facebook and Instagram.
Support this website simply by shopping in Amazon and Newegg. It will give us small kickbacks, if you use the above affiliate links to make any purchases, which will help us grow.
Previous known as Project Scarlett, the upcoming Xbox Series X is the next-generation console from Microsoft. More information about the specifications and features of the tall box-like console has been revealed.
Identical to the older Xbox consoles, the Series X will continue using hardware from AMD, which incorporates their latest Zen 2 CPU and RDNA 2 GPU micro-architecture. According to Microsoft, there will be four times more processor power and eight times more GPU performance (12 TFLOPs) than a Xbox One. For comparison, a Radeon RX 5700 XT and NVIDIA RTX 2080 SUPER graphics card has an approximate 9 TFLOPs and 11 TFLOPs of FP32 performance respectively.
Variable Rate Shading (VRS) and hardware-based DirectX Raytracing are implemented to allow better efficiency for the GPU and quality for games. Slow HDD is replaced with SSD as the primary storage, which should improve loading time and responsiveness. The Xbox Series X will also support HDMI 2.1 with Variable Refresh Rate (VRR) and up to 120 fps for compatible displays.
The Xbox Series X is expected to release on late 2020 during the holiday season. You can know more about the new console on Microsoft’s website.
Feel free to leave comments below, if you have any opinion about this website. Share the website around if you enjoy reading it. Subscribe to our Newsletter or follow our Twitter, Facebook and Instagram.
Support this website simply by shopping in Amazon and Newegg. It will give us small kickbacks, if you use the above affiliate links to make any purchases, which will help us grow.
While PCIe 4.0 starting to hit the mainstream consumer market with AMD 3rd Gen Ryzen processors and X570 motherboards, the future PCIe 6.0 standard has hit an important development milestone. PCI-SIG, the non-profit organization which specifies these standards, announced that they are releasing the new version 0.5 draft.
The new PCIe 6.0 specification will have a data bandwidth of 64 GT/s per lane, which is two times larger than PCIe 5.0 (32 GT/s) and four times more than PCIe 4.0 (16 GT/s). In a PCIe 6.0×16 configuration, the total bandwidth will be about 256 GB/s. PAM-4 (Pulse Amplitude Modulation with 4 levels) encoding is implemented to pack more bits into each serial channel at the same amount of time.
The PCIe 6.0 standard will be backward compatible with all older PCI-Express generations. PCI-SIG is expected to release the more comprehensive version 0.7 draft to the public at the Developers Conference in June 2020. The final version 1.0 should be ready in 2021.
Feel free to leave comments below, if you have any opinion about this website. Share the website around if you enjoy reading it. Subscribe to our Newsletter or follow our Twitter, Facebook and Instagram.
Support this website simply by shopping in Amazon and Newegg. It will give us small kickbacks, if you use the above affiliate links to make any purchases, which will help us grow.
Data backup is extremely important for everyone, especially when we keep almost everything digitally in this age. Whether it is a hard drive or solid-state drive, accidental damages and malfunctions are hard to prevent. The 3-2-1 backup strategy is widely believed in both the tech industries and communities to be the gold standard to keep precious data safe. But what exactly does it mean?
The basic concept of the tactic is to put the data at multiple locations in different formats/mediums. This is to minimize the risk of all the copies failing simultaneously.
3 Total Copies
Every file needed to backup is required to duplicate into three total copies in different storage mediums. Two of them will be stored locally, while the last one in a separate location. Normally, the onsite backups will use traditional hard disk drives and solid-state drives to allow faster and easy access. Offsite backups generally update less frequently and will use longer-term storage devices, like magnetic tapes and optical discs.
2 Onsite Backups
HDDs/SSDs on your computers will have limited lifespan and will wear out after a certain period of time. Apart from the primary copy of data on the personal computer or device, the data should be uploaded/replicated to either a Network-Attached Storage (NAS) or external HDD. This way, you would be able to retrieve the necessary files quickly, in the event of unexpected hardware failure.
1 Offsite Backup
In case of natural or geographical disasters (e.g. flooding and fire), the safety of the onsite backups cannot be ensured. An offsite backup is in fact one of the most crucial, yet underrated measure for data backup.
You should keep a copy of the data away from the other two copies, preferably at locations in another districts/states. For enterprises, they usually hire tape vaulting company, like Seery System. As an average customer, you can settle on putting the data up to cloud services, such as Google Drive and Dropbox. Or simply burn a CD/DVD and mail it to your friends or relatives.
You should treat the 3-2-1 backup strategy as a rule of thumb, but it should be altered to fit different people/companies’ needs.
Feel free to leave comments below, if you have any opinion about this website. Share the website around if you enjoy reading it. Subscribe to our Newsletter or follow our Twitter, Facebook and Instagram.
Support this website simply by shopping in Amazon and Newegg. It will give us small kickbacks, if you use the above affiliate links to make any purchases, which will help us grow.


 Explained")


")


 On top of the